
Joomla is a free, open source and one of the most popular Content Management System (CMS) around the world which allow the users to create or build their own website and applications.
It is built on PHP and stores its data on an SQL-based database engine on the backend such as MySQL/MariaDB.
In this tutorial, we will show you how to install Joomla 4 on your Ubuntu 22.04 OS.
Step 1: Update Operating System
Update your Ubuntu 22.04 operating system to make sure all existing packages are up to date:
$ sudo apt update && sudo apt upgrade -yStep 2: Install Apache webserver
You can install Apache via apt package manager by executing the following command.
$ sudo apt install apache2You can start the Apache service and configure it to run on startup by entering the following commands:
$ sudo systemctl start apache2
$ sudo systemctl enable apache2
Verify the status of the Apache service using systemctl status command:
$ sudo systemctl status apache2Output:
● apache2.service - The Apache HTTP Server
Loaded: loaded (/lib/systemd/system/apache2.service; enabled; vendor preset: enabled)
Active: active (running) since Tue 2022-04-26 15:18:33 UTC; 1min 31s ago
Docs: https://httpd.apache.org/docs/2.4/
Main PID: 13521 (apache2)
Tasks: 55 (limit: 2200)
Memory: 4.8M
CPU: 148ms
CGroup: /system.slice/apache2.service
├─13521 /usr/sbin/apache2 -k start
├─13523 /usr/sbin/apache2 -k start
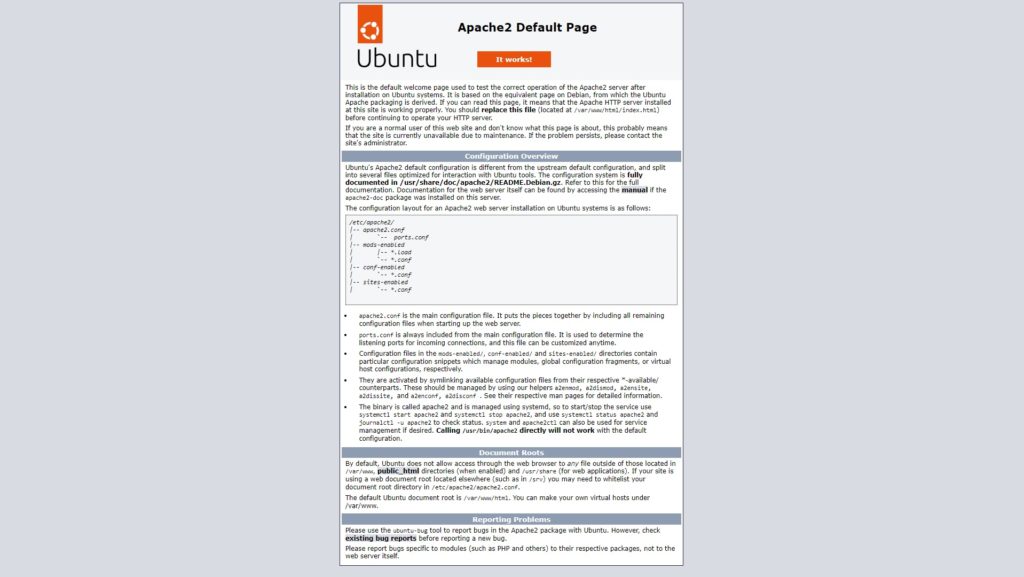
└─13524 /usr/sbin/apache2 -k startYou can test to make sure everything is working correctly by navigating to:
http://your-IP-addressIf everything is configured properly, you should be greeted by the default Apache2 Page, as seen below.
Step 3: Install PHP and PHP extensions for Joomla 4
You can install PHP 8.1 and other supporting packages using the following command:
$ sudo apt install php libapache2-mod-php php-dev php-bcmath php-intl php-soap php-zip php-curl php-mbstring php-mysql php-gd php-xmlVerify if PHP is installed.
php -vOutput:
PHP 8.1.2 (cli) (built: Apr 7 2022 17:46:26) (NTS)
Copyright (c) The PHP Group
Zend Engine v4.1.2, Copyright (c) Zend Technologies
with Zend OPcache v8.1.2, Copyright (c), by Zend Technologies
Step 4: Install MariaDB and create a database
You can install MariaDB with the following command:
$ sudo apt install mariadb-serverStart the database server daemon, and also enable it to start automatically at the next boot with the following commands:
$ systemctl start mariadb
$ systemctl enable mariadb
Verify the status of the MariaDB service using systemctl status command:
$ sudo systemctl status mariadbOutput:
● mariadb.service - MariaDB 10.6.7 database server
Loaded: loaded (/lib/systemd/system/mariadb.service; enabled; vendor preset: enabled)
Active: active (running)
Docs: man:mariadbd(8)
https://mariadb.com/kb/en/library/systemd/
Process: 27074 ExecStartPre=/usr/bin/install -m 755 -o mysql -g root -d /var/run/mysqld (code=exited, status=0/SUCCESS)
Process: 27075 ExecStartPre=/bin/sh -c systemctl unset-environment _WSREP_START_POSITION (code=exited, status=0/SUCCESS)
Process: 27077 ExecStartPre=/bin/sh -c [ ! -e /usr/bin/galera_recovery ] && VAR= || VAR=`cd /usr/bin/..; /usr/bin/galera_recovery`; [ $? -eq 0 ] && >
Process: 27117 ExecStartPost=/bin/sh -c systemctl unset-environment _WSREP_START_POSITION (code=exited, status=0/SUCCESS)
Process: 27119 ExecStartPost=/etc/mysql/debian-start (code=exited, status=0/SUCCESS)
Main PID: 27106 (mariadbd)
Status: "Taking your SQL requests now..."
Tasks: 7 (limit: 2200)
Memory: 57.0M
CPU: 880ms
CGroup: /system.slice/mariadb.service
└─27106 /usr/sbin/mariadbd
Once the database server is installed, log into the MariaDB prompt:
$ sudo mysql -u rootTo create a database, database user, and grant all privileges to the database user run the following commands:
MariaDB [(none)]> CREATE DATABASE joomla_db;
MariaDB [(none)]> CREATE USER 'joomla_user'@'localhost' IDENTIFIED BY 'Password';
MariaDB [(none)]> GRANT ALL ON joomla_db.* TO 'joomla_user'@'localhost';
MariaDB [(none)]> FLUSH PRIVILEGES;
MariaDB [(none)]> EXIT
Step 5: Download Joomla 4
We will now download the latest version of Joomla from the Official site.
Use the following command to download Joomla 4:
$ sudo wget https://downloads.joomla.org/cms/joomla4/4-1-2/Joomla_4-1-2-Stable-Full_Package.zipExtract file into the folder /var/www/html/joomla/ with the following command,
$ sudo apt -y install unzip
$ sudo unzip Joomla_4-1-2-Stable-Full_Package.zip -d /var/www/html/joomla
Enable permission for the Apache webserver user to access the files,
$ sudo chown -R www-data:www-data /var/www/html/joomla/Step 6: Configure Apache Web Server for Joomla 4
Navigate to /etc/apache2/sites-available directory and run the following command to create a configuration file for your installation:
$ sudo nano /etc/apache2/sites-available/joomla.confAdd the following content:
<VirtualHost *:80>

ServerAdmin webmaster@your-domain.com

ServerName your-domain.com
ServerAlias www.your-domain.com
DocumentRoot /var/www/html/joomla

<Directory /var/www/html/joomla/>
        Options FollowSymlinks
        AllowOverride All
        Require all granted
</Directory>

ErrorLog ${APACHE_LOG_DIR}/your-domain.com_error.log
CustomLog ${APACHE_LOG_DIR}/your-domain.com_access.log combined

</VirtualHost>
Save the file and Exit.
Enable the Joomla virtual host:
$ sudo a2ensite joomla.confRestart the Apache web server.
$ sudo systemctl restart apache2Step 7: Access Joomla 4 Web Installer
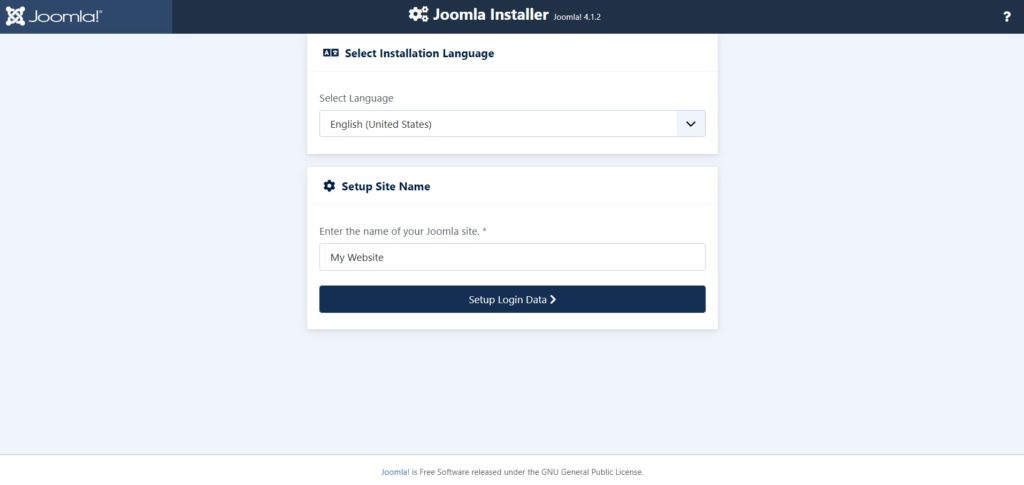
Open your browser type your domain e.g http://your-domain.com and complete the required steps to finish the installation.
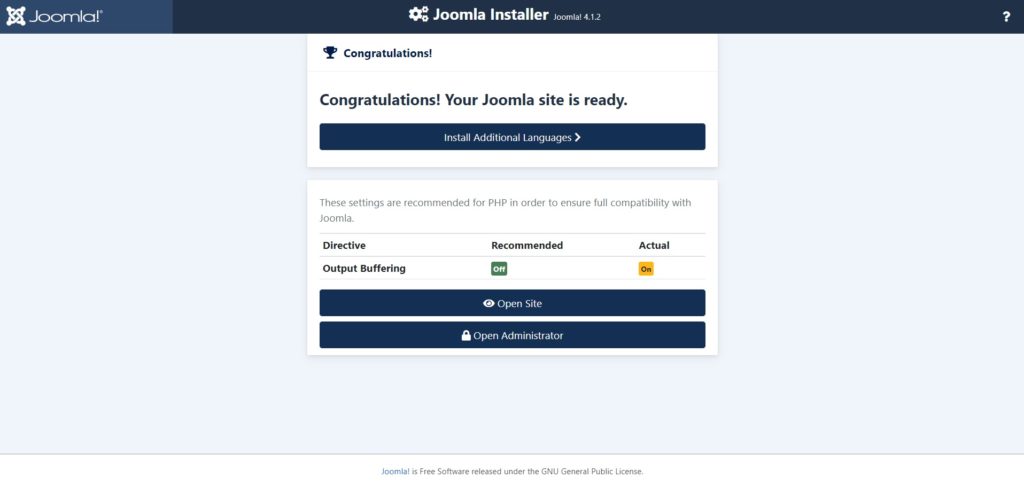
Once the Joomla has been installed, you will get the following screen:
Click on the Open Administrator. You will get the login screen:
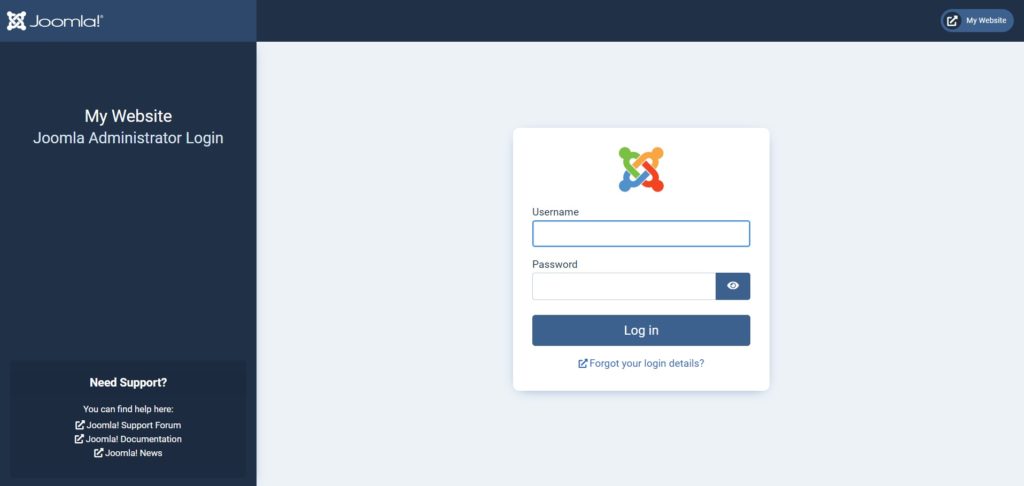
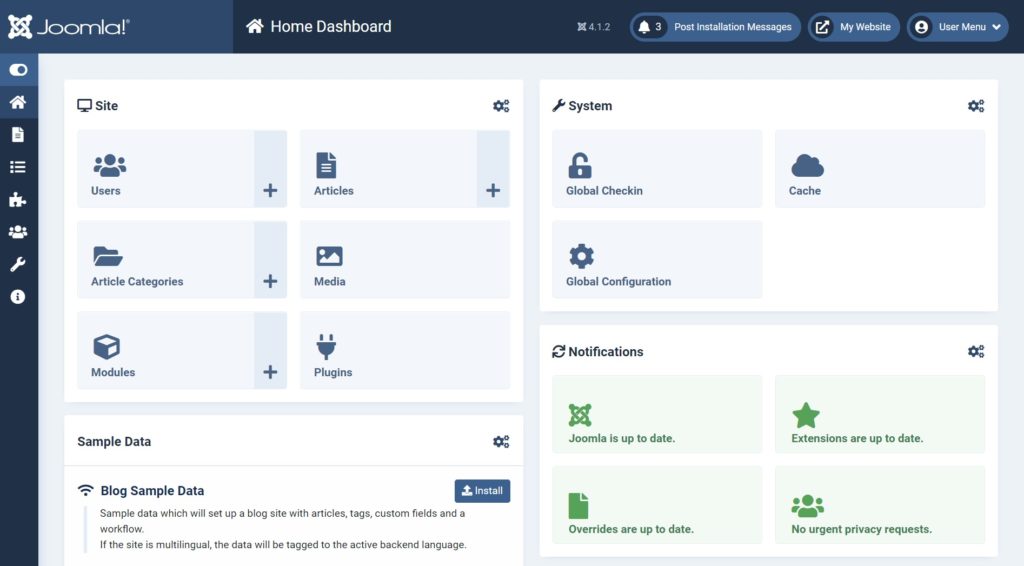
Enter your Joomla admin user, password and click on the Log in. You will get the dashboard in the following screen:
Comments and Conclusion
That’s it. You have successfully installed Joomla 4 CMS (Content Management system) on Ubuntu 22.04
If you have any questions please leave a comment below.