
Drupal is an open-source and popular content management tool that is the foundation of many websites across the internet. It has great standard features, like easy content authoring, reliable performance, and excellent security. Flexibility and modularity are some of the core principles that set it apart from the rest.
In this tutorial, we will show you how to install Drupal 9 on your Ubuntu 22.04 OS.
Step 1: Update Operating System
Update your Ubuntu 22.04 operating system to make sure all existing packages are up to date:
$ sudo apt update && sudo apt upgrade -yStep 2: Install Apache webserver
You can install Apache via apt package manager by executing the following command.
$ sudo apt install apache2You can start the Apache service and configure it to run on startup by entering the following commands:
$ sudo systemctl start apache2
$ sudo systemctl enable apache2
Verify the status of the Apache service using systemctl status command:
$ sudo systemctl status apache2Output:
● apache2.service - The Apache HTTP Server
     Loaded: loaded (/lib/systemd/system/apache2.service; enabled; vendor preset: enabled)
     Active: active (running)
       Docs: https://httpd.apache.org/docs/2.4/
    Process: 3170 ExecStart=/usr/sbin/apachectl start (code=exited, status=0/SUCCESS)
   Main PID: 3174 (apache2)
      Tasks: 12 (limit: 2200)
     Memory: 246.8M
        CPU: 18.104s
     CGroup: /system.slice/apache2.service
             ├─3174 /usr/sbin/apache2 -k start
             ├─3175 /usr/sbin/apache2 -k start
             ├─3176 /usr/sbin/apache2 -k start
You can test to make sure everything is working correctly by navigating to:
http://your-IP-addressIf everything is configured properly, you should be greeted by the default Apache2 Page, as seen below.

Step 3: Install PHP and PHP extensions for Drupal 9
By default, Ubuntu 22.04 comes with PHP version 8.1. You can install PHP and other supporting packages using the following command:
$ sudo apt install php libapache2-mod-php php-dev php-bcmath php-intl php-soap php-zip php-curl php-mbstring php-mysql php-gd php-xmlVerify if PHP is installed.
php -vOutput:
PHP 8.1.6 (cli) (built: May 17 2022 16:46:54) (NTS)
Copyright (c) The PHP Group
Zend Engine v4.1.6, Copyright (c) Zend Technologies
with Zend OPcache v8.1.6, Copyright (c), by Zend Technologies
Step 4: Install MySQL and create a database
You can install MySQL with the following command:
$ sudo apt install mysql-serverStart the database server daemon, and also enable it to start automatically at the next boot with the following commands:
$ systemctl start mysql
$ systemctl enable mysql
Verify the status of the MySQL service using systemctl status command:
$ sudo systemctl status mysqlOutput:
● mysql.service - MySQL Community Server
     Loaded: loaded (/lib/systemd/system/mysql.service; enabled; vendor preset: enabled)
     Active: active (running)
    Process: 832 ExecStartPre=/usr/share/mysql/mysql-systemd-start pre (code=exited, status=0/SUCCESS)
   Main PID: 1235 (mysqld)
     Status: "Server is operational"
      Tasks: 46 (limit: 2200)
     Memory: 582.6M
        CPU: 1min 11.087s
     CGroup: /system.slice/mysql.service
             └─1235 /usr/sbin/mysqld
Once the database server is installed, log into the MariaDB prompt:
$ sudo mysql -u rootTo create a database, database user, and grant all privileges to the database user run the following commands:
mysql> CREATE DATABASE drupal;
mysql> CREATE USER 'drupal_user'@'localhost' IDENTIFIED BY 'Drupal_Passw0rd!';
mysql> GRANT ALL ON drupal.* TO 'drupal_user'@'localhost';
mysql> FLUSH PRIVILEGES;
mysql> EXIT
Step 5: Download Drupal 9
We will now download Drupal 9 from the Drupal Official site.
Use the following command to download Drupal 9:
$ sudo wget https://ftp.drupal.org/files/projects/drupal-9.3.13.zipExtract file into the folder /var/www/html/ with the following command:
$ sudo apt -y install unzip
$ sudo unzip drupal-9.3.13.zip -d /var/www/html/
To make things simpler, rename the extracted directory drupal-9.3.13 to just drupal:
$ sudo mv /var/www/html/drupal-9.3.13/ /var/www/html/drupal/Enable permission for the Apache webserver user to access the files,
$ sudo chown -R www-data:www-data /var/www/html/drupal/Step 6: Configure Apache Web Server for Drupal 9
Navigate to /etc/apache2/sites-available directory and run the following command to create a configuration file for your installation:
$ sudo nano /etc/apache2/sites-available/drupal.confAdd the following content:
<VirtualHost *:80>

ServerAdmin webmaster@your-domain.com

ServerName your-domain.com
ServerAlias www.your-domain.com
DocumentRoot /var/www/html/drupal

<Directory /var/www/html/drupal/>
        Options Indexes FollowSymLinks
        AllowOverride All
        Require all granted
</Directory>

ErrorLog ${APACHE_LOG_DIR}/your-domain.com_error.log
CustomLog ${APACHE_LOG_DIR}/your-domain.com_access.log combined

</VirtualHost>
Save the file and Exit.
Enable the Drupal 9 virtual host:
$ sudo a2ensite drupal.confAfter that, restart the Apache web server.
$ sudo systemctl restart apache2Step 7: Access Drupal 9 Web Installer
Open your browser type your domain e.g http://your-domain.com and complete the required steps to finish the installation.
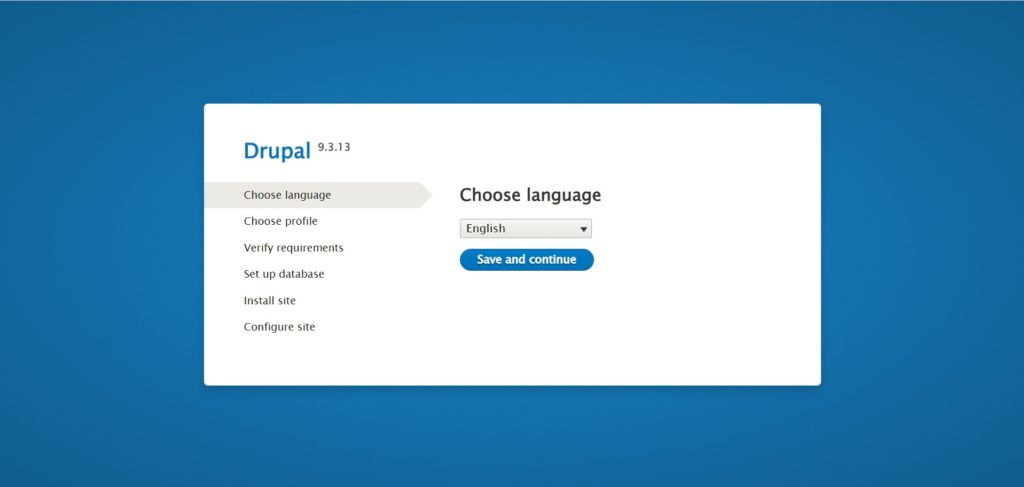
Choose your preferred language and hit Save and continue, you will get the following screen:
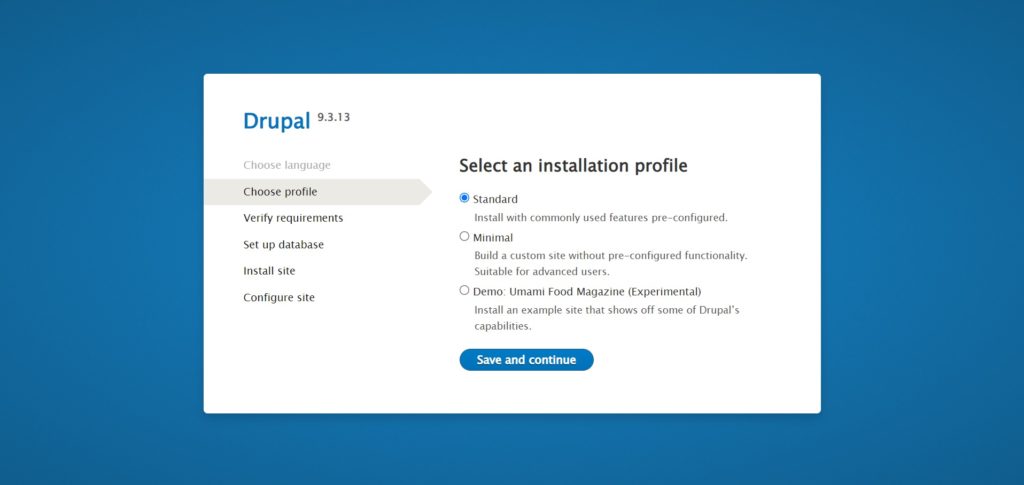
Choose Standard and hit Save and continue. You will get the following screen:
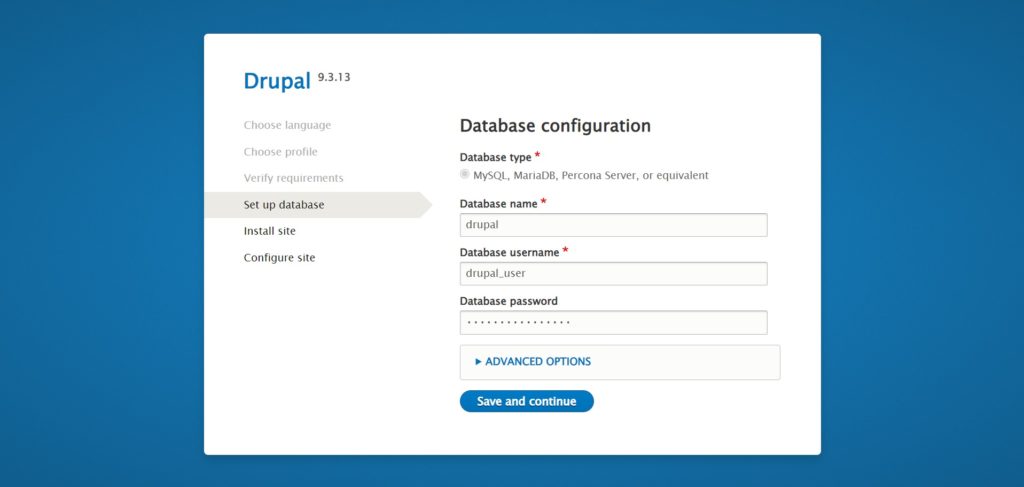
Fill in your database settings and hit Save and continue.
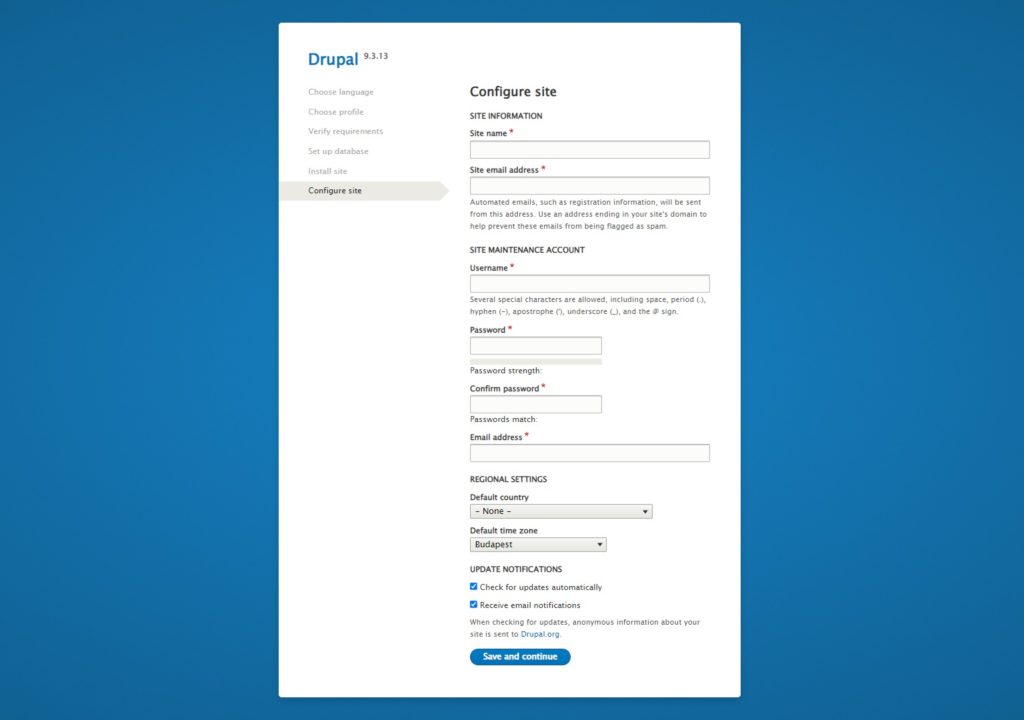
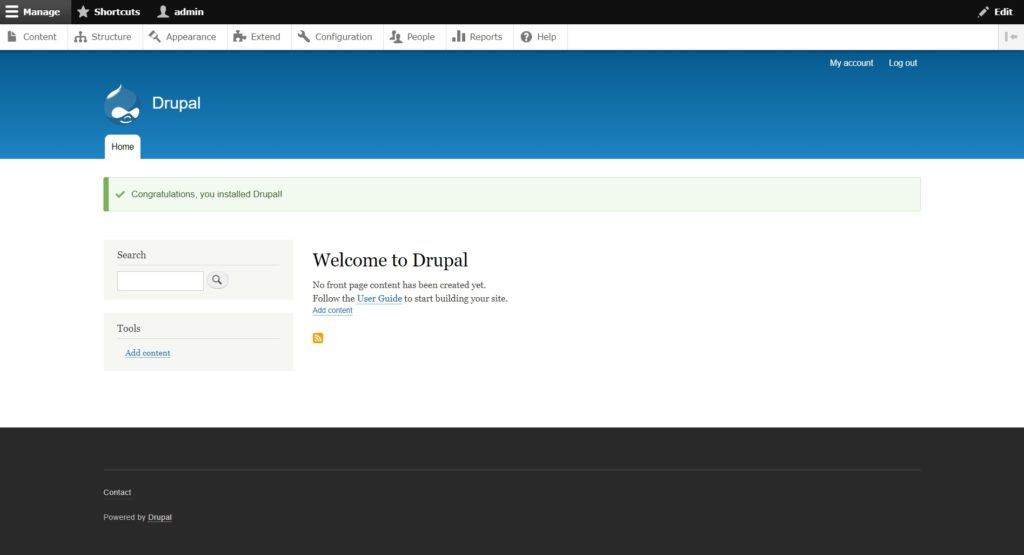
Fill in some basic information about your site and then hit Save and continue. You will get the dashboard in the following screen:
Installation of Drupal has been completed. Now revert the permissions for the settings.php file:
$ sudo chmod 644 /var/www/html/drupal/sites/default/settings.phpComments and Conclusion
That’s it. You have successfully installed Drupal 9 on Ubuntu 22.04
If you have any questions please leave a comment below.