
DokuWiki is a free and open-source wiki software written in PHP that allows users to create and edit pages using a web browser. It is easy to install and use, and doesn’t require a database since it works on plain text files. Using a very familiar interface, allows you to easily scale and optimize using many advanced features.
The installation is quite simple and assumes you are running in the root account, if not you may need to add ‘sudo‘ to the commands to get root privileges.
Step 1: Update Operating System
Update and upgrade your system packages to the latest version with the following command:
$ sudo apt update && sudo apt upgrade -yStep 2: Install Nginx Web Server
In this tutorial, we will use Nginx. If you prefer Apache or another web server, you can use that instead of Nginx.
You can install Nginx via apt package manager by executing the following command.
$ sudo apt install nginxYou can start the Nginx service and configure it to run on startup by entering the following commands:
$ sudo systemctl start nginx
$ sudo systemctl enable nginx
Verify the status of the Nginx service using systemctl status command:
$ sudo systemctl status nginxOutput:
● nginx.service - A high performance web server and a reverse proxy server
     Loaded: loaded (/lib/systemd/system/nginx.service; enabled; vendor preset: enabled)
     Active: active (running)
       Docs: man:nginx(8)
   Main PID: 11940 (nginx)
      Tasks: 2 (limit: 2200)
     Memory: 2.6M
        CPU: 63ms
     CGroup: /system.slice/nginx.service
             ├─11940 "nginx: master process /usr/sbin/nginx -g daemon on; master_process on;"
             └─11941 "nginx: worker process
Step 3: Install PHP and required PHP extensions for DokuWiki
By default, the Ubuntu 22.04 repositories provide PHP 8.x. Please note that Dokuwiki is not yet compatible with PHP 8.
To install PHP 7.4 you need to install SURY, third party repositories to APT.
First, install the required packages using the following command:
$ sudo apt-get install ca-certificates apt-transport-https software-properties-common -yOnce all the packages are installed, add a Sury repository to APT using the following command:
$ sudo add-apt-repository ppa:ondrej/php --yes &> /dev/nullOnce you are done, update the repository with the following command:
$ sudo apt-get update -yNow, you can install the PHP 7.4 and additional PHP modules using the following command:
$ sudo apt-get install php7.4 php7.4-fpm php7.4-gd php7.4-xml php7.4-jsonVerify the PHP version:
php7.4 -vOutput:
PHP 7.4.30 (cli) (built: Jun 27 2022 08:21:19) ( NTS )
Copyright (c) The PHP Group
Zend Engine v3.4.0, Copyright (c) Zend Technologies
with Zend OPcache v7.4.30, Copyright (c), by Zend TechnologiesStep 4: Download DokuWiki
Download the latest version from DokuWiki download’s page using the following command:
$ sudo wget https://download.dokuwiki.org/src/dokuwiki/dokuwiki-stable.tgzCreate a folder to store web root files:
$ sudo mkdir /var/www/html/dokuwikiThen extract DokuWiki tarball file into the folder /var/www/html/dokuwiki/ with the following command:
$ sudo tar xzf dokuwiki-stable.tgz -C /var/www/html/dokuwiki/ --strip-components=1Change ownership of /var/www/html/dokuwiki to www-data user and group:
$ sudo chown -R www-data:www-data /var/www/html/dokuwiki/Step 5: Configure Nginx for DokuWiki
Then, create an virtual host configuration file to host DokuWiki:
$ sudo nano /etc/nginx/conf.d/dokuwiki.confPaste the content as shown below:
server {
  server_name your-domain.com;
  root /var/www/html/dokuwiki;

  location / {
    index doku.php;
    try_files $uri $uri/ @dokuwiki;
  }

  location ~ ^/lib.*\.(gif|png|ico|jpg)$ {
    expires 30d;
  }

  location ^~ /conf/ { return 403; }
  location ^~ /data/ { return 403; }

  location @dokuwiki {
    rewrite ^/_media/(.*) /lib/exe/fetch.php?media=$1 last;
    rewrite ^/_detail/(.*) /lib/exe/detail.php?media=$1 last;
    rewrite ^/_export/([^/]+)/(.*) /doku.php?do=export_$1&id=$2 last;
    rewrite ^/(.*) /doku.php?id=$1 last;
  }

  location ~ \.php$ {
    fastcgi_split_path_info ^(.+\.php)(/.+)$;
    fastcgi_pass unix:/var/run/php/php7.4-fpm.sock;
    fastcgi_index index.php;
    include fastcgi_params;
    fastcgi_param SCRIPT_FILENAME $document_root$fastcgi_script_name;
    fastcgi_intercept_errors off;
    fastcgi_buffer_size 16k;
    fastcgi_buffers 4 16k;;
  }
}
Remember to replace your-domain.com with the domain name of your server.
Save and exit the configuration file.
Check Nginx syntax:
$ sudo nginx -t
nginx: the configuration file /etc/nginx/nginx.conf syntax is ok
nginx: configuration file /etc/nginx/nginx.conf test is successful
To implement the changes, restart Nginx webserver:
$ sudo systemctl restart php7.4-fpm nginxStep 6: Access DokuWiki Web Interface
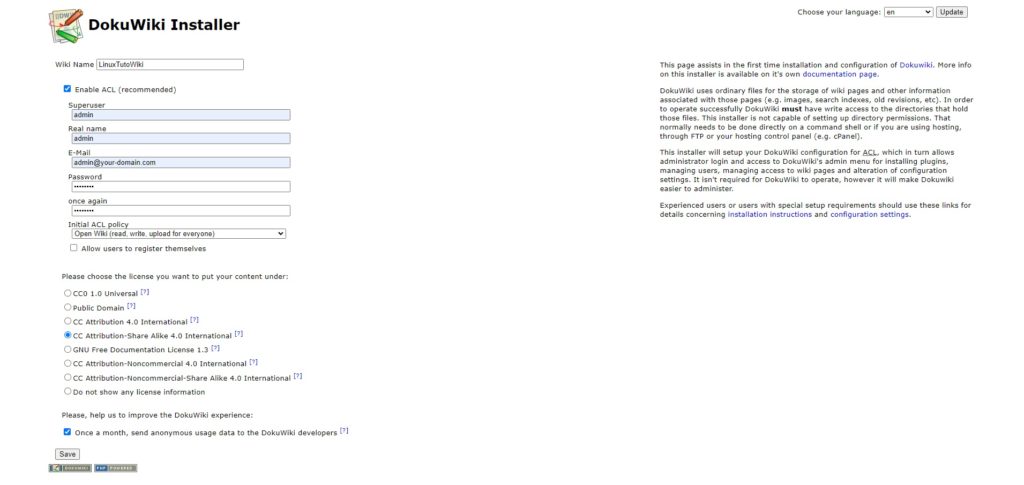
To complete the setup go to your browser and visit http://your-domain.com/install.php.
Provide all the required information like superuser name, email, password. Ensure you select the correct ACL policy. Then, click on the Save button.
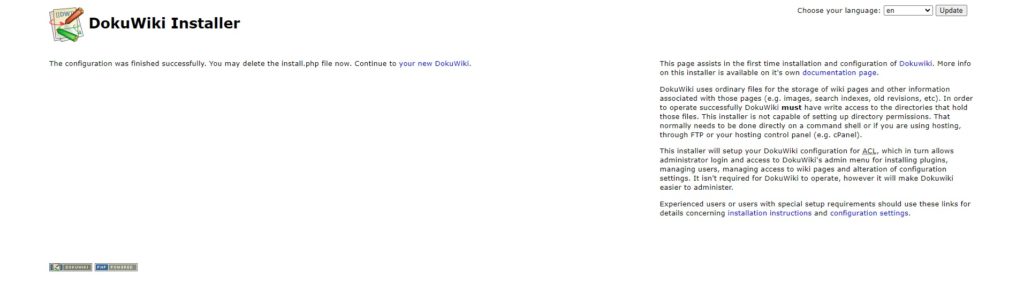
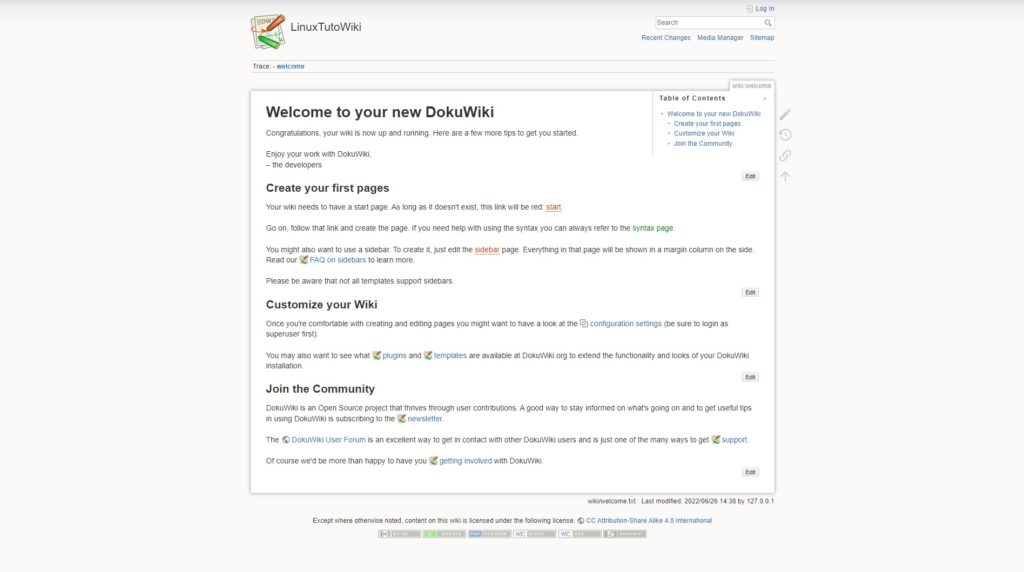
Once the installation has been completed successfully, click “your new DokuWiki” to get to home page.
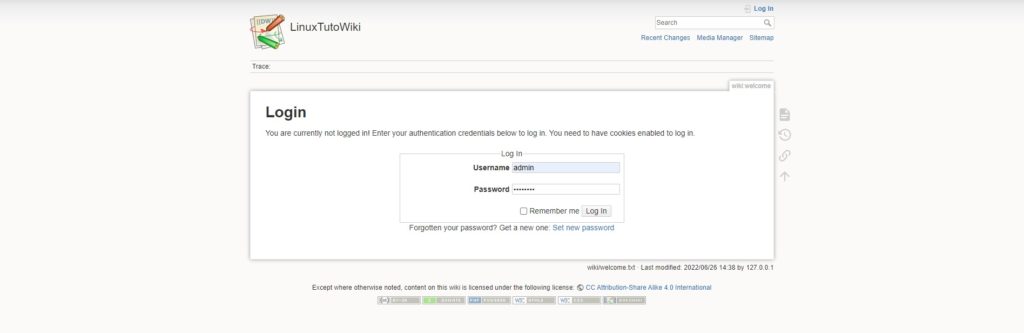
To login to your dashboard, click Log in at the top right corner.
Enter your username and password your created earlier and click on the Log In button:
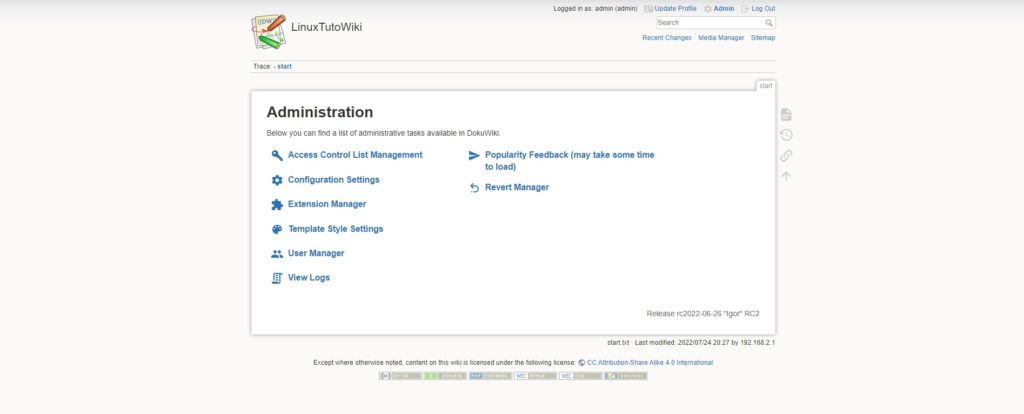
You should see the dashboard in the following screen:
After a successful configuration, delete the install.php file from the DokuWiki root directory:
sudo rm -f /var/www/html/dokuwiki/install.phpComments and Conclusion
Congratulations! You have successfully installed and configured DokuWiki on Ubuntu 22.04. Thanks for using this tutorial for installing the DokuWiki on Ubuntu 22.04 OS.