
Zen Cart is a free, open-source e-commerce application with wide community support. It is written in PHP and requires a MySQL database.
In this tutorial, we will show you how to install Zen Cart on Ubuntu 22.04 OS.
Step 1: Update Operating System
Update your Ubuntu 22.04 operating system to the latest version with the following command:
$ sudo apt update && sudo apt upgrade -yStep 2: Install Apache webserver
You can install it via apt package manager by executing the following command.
$ sudo apt install apache2You can start the Apache service and configure it to run on startup by entering the following commands:
$ sudo systemctl start apache2
$ sudo systemctl enable apache2
Verify the status of the Apache service using systemctl status command:
$ sudo systemctl status apache2Output:
● apache2.service - The Apache HTTP Server
     Loaded: loaded (/lib/systemd/system/apache2.service; enabled; vendor preset: enabled)
     Active: active (running)
       Docs: https://httpd.apache.org/docs/2.4/
   Main PID: 47636 (apache2)
      Tasks: 55 (limit: 2200)
     Memory: 4.8M
        CPU: 126ms
     CGroup: /system.slice/apache2.service
             ├─47636 /usr/sbin/apache2 -k start
             ├─47638 /usr/sbin/apache2 -k start
             └─47639 /usr/sbin/apache2 -k start
Step 3: Install PHP and PHP extensions for Zen Cart
By default, Ubuntu 22.04 comes with PHP version 8.1. To install PHP and additional PHP modules to support Zen Cart, run the following command:
$ sudo apt-get install php php-cli php-common libapache2-mod-php php-curl php-zip php-gd php-mysql php-xml php-mbstring php-json php-intlVerify if PHP is installed.
php -vOutput:
PHP 8.1.2-1ubuntu2.9 (cli) (built: Oct 19 2022 14:58:09) (NTS)
Copyright (c) The PHP Group
Zend Engine v4.1.2, Copyright (c) Zend Technologies
with Zend OPcache v8.1.2-1ubuntu2.9, Copyright (c), by Zend Technologies
After installing all the packages, edit the php.ini file:
$ sudo nano /etc/php/8.1/apache2/php.iniChange the following settings per your requirements:
memory_limit = 512M
post_max_size = 128M
upload_max_filesize = 128M
date.timezone = America/Chicago
To implement the changes, restart Apache webserver:
$ sudo systemctl restart apache2Step 4: Install MariaDB and create a database
To install MariaDB run the following command:
$ sudo apt install mariadb-server mariadb-clientVerify the status of the MariaDB service using systemctl status command:
$ sudo systemctl status mariadbOutput:
● mariadb.service - MariaDB 10.6.11 database server
     Loaded: loaded (/lib/systemd/system/mariadb.service; enabled; vendor preset: enabled)
     Active: active (running)
       Docs: man:mariadbd(8)
             https://mariadb.com/kb/en/library/systemd/
    Process: 59747 ExecStartPre=/usr/bin/install -m 755 -o mysql -g root -d /var/run/mysqld (code=exited, status=0/SUCCESS)
    Process: 59748 ExecStartPre=/bin/sh -c systemctl unset-environment _WSREP_START_POSITION (code=exited, status=0/SUCCESS)
    Process: 59750 ExecStartPre=/bin/sh -c [ ! -e /usr/bin/galera_recovery ] && VAR= ||   VAR=`cd /usr/bin/..; /usr/bin/galera_recovery`; [ $? -eq 0 ]   && >
    Process: 59790 ExecStartPost=/bin/sh -c systemctl unset-environment _WSREP_START_POSITION (code=exited, status=0/SUCCESS)
    Process: 59792 ExecStartPost=/etc/mysql/debian-start (code=exited, status=0/SUCCESS)
   Main PID: 59779 (mariadbd)
     Status: "Taking your SQL requests now..."
      Tasks: 9 (limit: 2200)
     Memory: 61.0M
        CPU: 415ms
     CGroup: /system.slice/mariadb.service
             └─59779 /usr/sbin/mariadbd
By default, MariaDB is not hardened. You can secure MariaDB using the mysql_secure_installation script.
$ sudo mysql_secure_installationConfigure it like this:
- Set root password? [Y/n] Y
- Remove anonymous users? [Y/n] Y
- Disallow root login remotely? [Y/n] Y
- Remove test database and access to it? [Y/n] Y
- Reload privilege tables now? [Y/n] Y
Now run the command below to log in to the MariaDB shell.
$ sudo mysql -u root -pOnce you are logged in to your database server you need to create a database for the Zen Cart installation:
MariaDB [(none)]> CREATE DATABASE zencart;
MariaDB [(none)]> CREATE USER 'zencart'@'localhost' IDENTIFIED BY 'Str0ngWedrf1';
MariaDB [(none)]> GRANT ALL PRIVILEGES ON zencart. * TO 'zencart'@'localhost';
MariaDB [(none)]> FLUSH PRIVILEGES;
MariaDB [(none)]> exit;
Step 5: Download Zen Cart
The latest version of Zen Cart is available to download from GitHub. As of writing this tutorial, the latest version available is 1.5.8.
$ sudo wget https://github.com/zencart/zencart/archive/refs/tags/v1.5.8.zip --no-check-certificateThen extract file into the folder /var/www/ with the following command:
$ sudo apt -y install unzip
$ sudo unzip v1.5.8.zip -d /var/www/
Rename the extracted directory:
$ sudo mv /var/www/zencart-1.5.8 /var/www/zencart/Then enable permission for the Apache webserver user to access the files:
$ sudo chown -R www-data:www-data /var/www/zencart/Step 6: Configure Apache for Zen Cart
Run the commands below to create a new VirtualHost file called zencart in the /etc/apache2/sites-available/ directory.
$ sudo nano /etc/apache2/sites-available/zencart.confPaste the content as shown below:
 <VirtualHost *:80>
    ServerAdmin admin@your-domain.com
    DocumentRoot /var/www/zencart/

    ServerName your-domain.com
    ServerAlias www.your-domain.com

    <Directory /var/www/zencart/>
        Options FollowSymLinks
        AllowOverride All
        Order allow,deny
        Allow from all
    </Directory>

    ErrorLog /var/log/apache2/your-domain.com-error_log
    CustomLog /var/log/apache2/your-domain.com-access_log common

 </VirtualHost>
Remember to replace your-domain.com with the domain name of your server.
Save and exit the configuration file.
To enable this site run the command:
$ sudo a2ensite zencart.confTo implement the changes, restart Apache webserver:
$ sudo systemctl restart apache2Step 7: Install free Let’s Encrypt SSL certificate
First we need to install the Certbot client which is used to create Let’s Encrypt certificates:
$ sudo apt install certbot python3-certbot-apacheTo get the SSL certificate using the Certbot, type the command given below:
$ sudo certbot --apache -d your-domain.com -d www.your-domain.comIf the SSL certificate is successfully obtained, certbot displays a message to show the configuration was successful:
IMPORTANT NOTES:
 - Congratulations! Your certificate and chain have been saved at:
   /etc/letsencrypt/live/your-domain.com.com/fullchain.pem
   Your key file has been saved at:
   /etc/letsencrypt/live/your-domain.com/privkey.pem
   Your cert will expire on 2023-04-02. To obtain a new or tweaked
   version of this certificate in the future, simply run certbot
   again. To non-interactively renew *all* of your certificates, run
   "certbot renew"
 - Your account credentials have been saved in your Certbot
   configuration directory at /etc/letsencrypt. You should make a
   secure backup of this folder now. This configuration directory will
   also contain certificates and private keys obtained by Certbot so
   making regular backups of this folder is ideal.
 - If you like Certbot, please consider supporting our work by:

   Donating to ISRG / Let's Encrypt:   https://letsencrypt.org/donate
   Donating to EFF:                    https://eff.org/donate-le
Now, you have successfully installed SSL on your website.
Step 8: Access Zen Cart Web Interface
Open your web browser and type the URL https://your-domain.com/zc_install/index.php. You should see the following page:
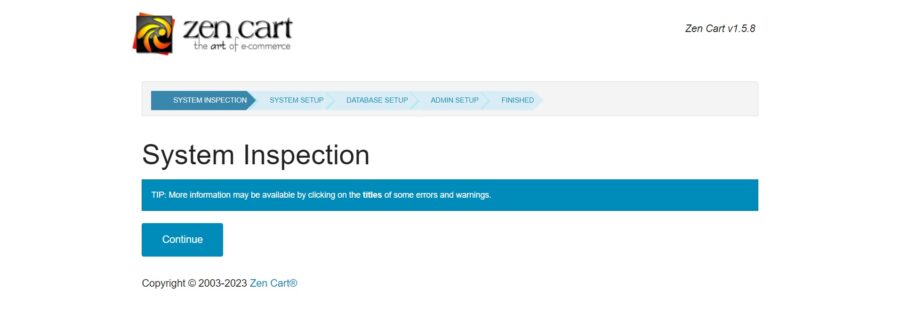
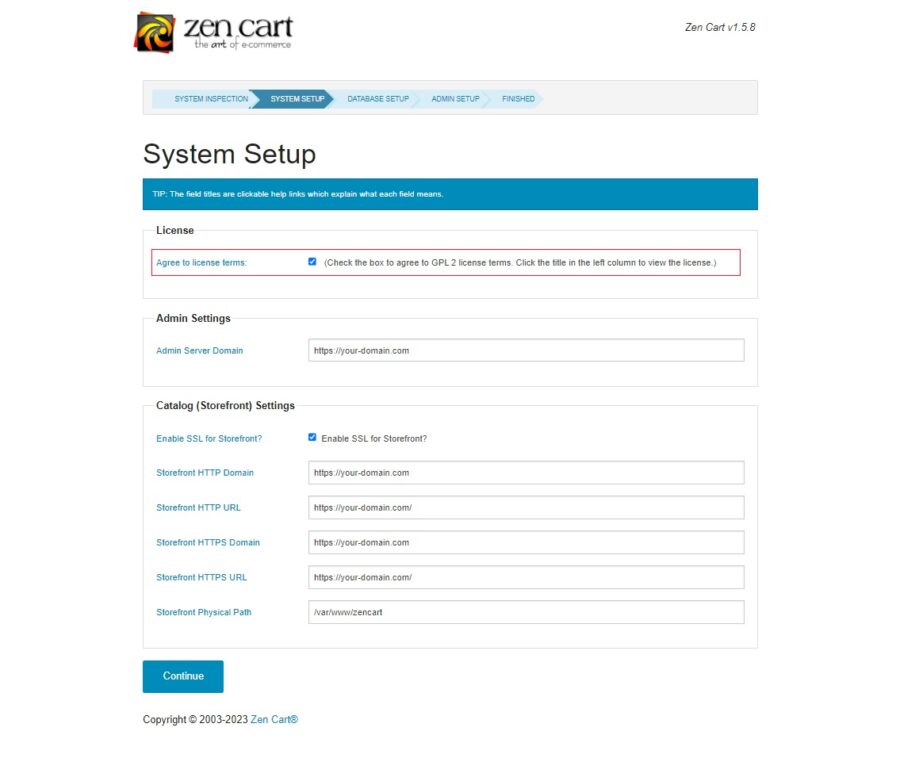
Accept the license and click on the Continue.
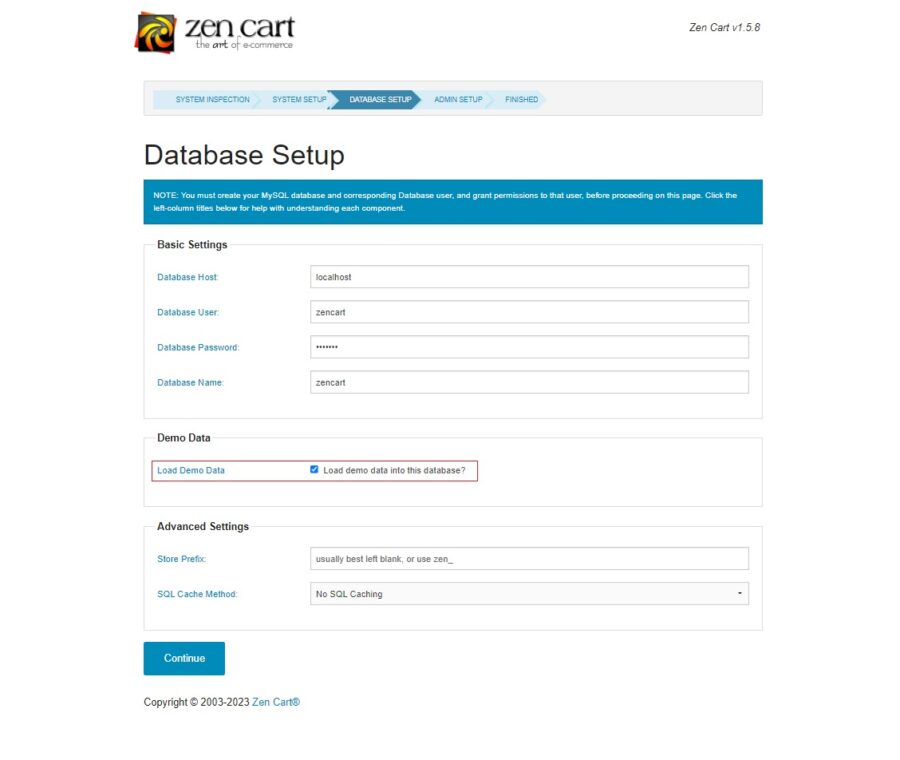
Provide your database information and click the checkbox next to the Load Demo Data option. Then click on the Continue.
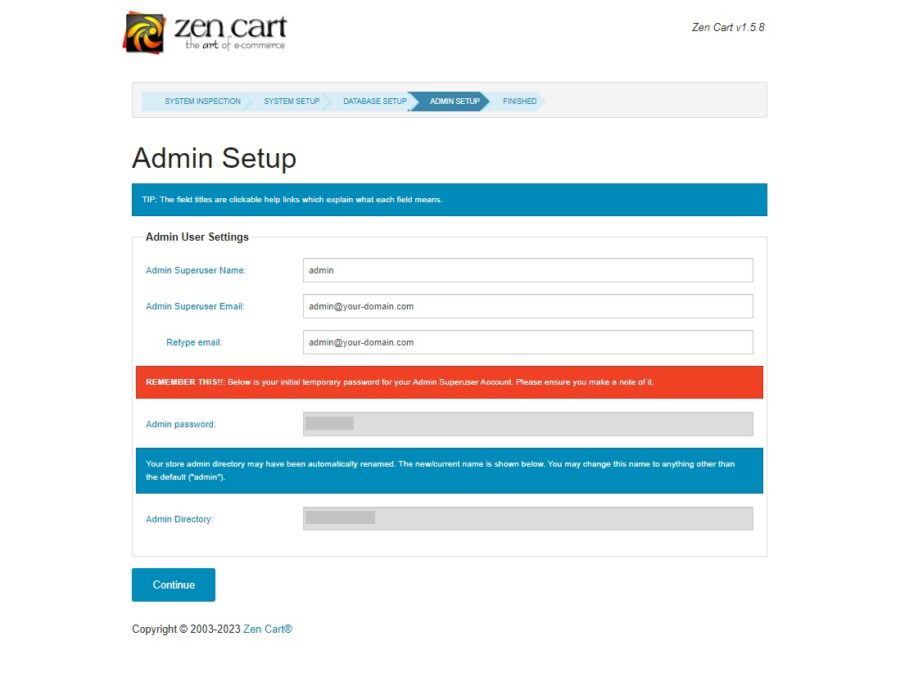
Establish a username and email address for the admin of the Zen Cart backend and click Continue.
Once the installation has been completed, you should see the following page:
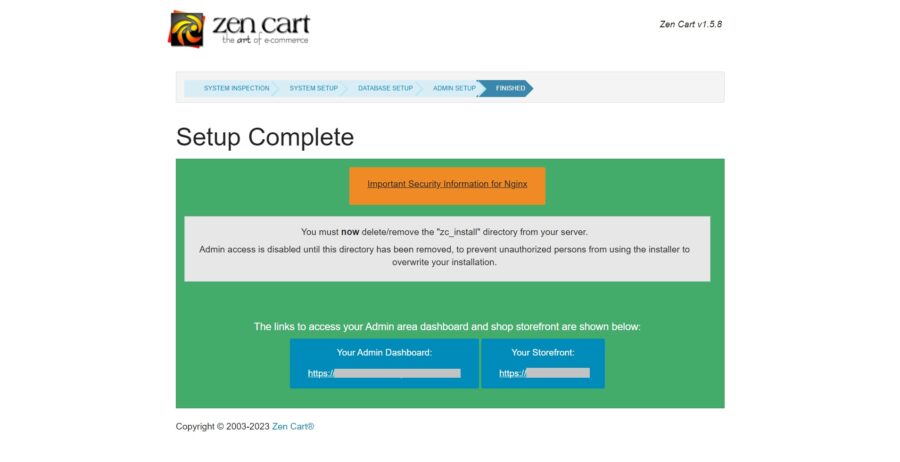
Now, open your terminal and remove the installation directory with the following command:
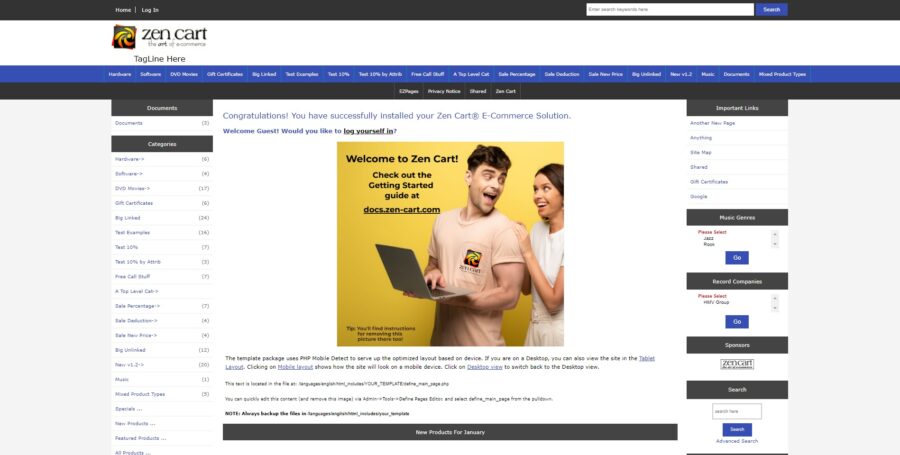
# rm -rf /var/www/zencart/zc_install/Then if you click on the Your Storefront you should see your shop page:
Or if you click on the Your Admin Dashboard button you should see the login page:
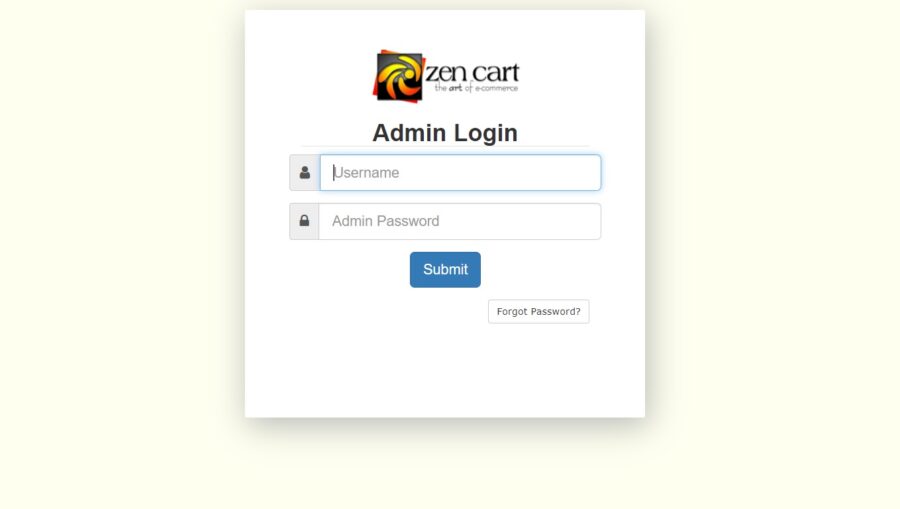
Provide your admin username, password and click on the Submit button. You should see your administration panel.
Comments and Conclusion
Congratulations! You have successfully installed Zen Cart e-commerce platform. Thanks for using this tutorial for installing Zen Cart on your Ubuntu 22.04 OS.
For additional help or useful information, we recommend you to check the documentation at the official Zen Cart website.