
Chamilo is an open-source learning management system (LMS) used for delivering online courses and training programs. It provides features such as course content management, student registration and progress tracking, online assessments, and collaboration tools. Chamilo is a free, web-based platform that can be customized to fit the needs of schools, businesses, and organizations.
In this tutorial, we will show you step-by-step how to install Chamilo on Ubuntu 22.04 OS.
Step 1: Update Operating System
Update your Ubuntu 22.04 operating system to the latest version with the following command:
# apt update && sudo apt upgrade -yStep 2: Install Apache webserver
You can install it via apt package manager by executing the following command.
# apt install apache2Verify the status of the Apache service using systemctl status command:
# systemctl status apache2Output:
● apache2.service - The Apache HTTP Server
     Loaded: loaded (/lib/systemd/system/apache2.service; enabled; vendor preset: enabled)
     Active: active (running)
       Docs: https://httpd.apache.org/docs/2.4/
   Main PID: 3489 (apache2)
      Tasks: 55 (limit: 2200)
     Memory: 4.8M
        CPU: 134ms
     CGroup: /system.slice/apache2.service
             ├─3489 /usr/sbin/apache2 -k start
             ├─3491 /usr/sbin/apache2 -k start
             └─3492 /usr/sbin/apache2 -k start
Step 3: Install PHP and PHP extensions for Chamilo
Chamilo requirement PHP7.4. So you will need to add the DEB.SURY.ORG repository to APT.
# apt install software-properties-common# add-apt-repository ppa:ondrej/php -yTo install PHP and additional PHP modules to support Chamilo, run the following command:
# apt-get install php7.4 libapache2-mod-php7.4 php7.4-{cli,common,curl,zip,gd,mysql,xml,mbstring,json,intl,ldap,apcu}Verify if PHP is installed.
php7.4 -vOutput:
PHP 7.4.33 (cli) (built: Jan 13 2023 10:42:56) ( NTS )
Copyright (c) The PHP Group
Zend Engine v3.4.0, Copyright (c) Zend Technologies
with Zend OPcache v7.4.33, Copyright (c), by Zend Technologies
After installing all the packages, edit the php.ini file:
# nano /etc/php/7.4/apache2/php.iniChange the following settings per your requirements:
memory_limit = 512M
max_execution_time = 360
post_max_size = 128M
upload_max_filesize = 128M
date.timezone = America/Chicago
To implement the changes, restart Apache webserver:
# systemctl restart apache2Step 4: Install MariaDB and create a database
To install MariaDB run the following command:
# apt install mariadb-server mariadb-clientVerify the status of the MariaDB service using systemctl status command:
# systemctl status mariadbOutput:
● mariadb.service - MariaDB 10.6.11 database server
     Loaded: loaded (/lib/systemd/system/mariadb.service; enabled; vendor preset: enabled)
     Active: active (running)
       Docs: man:mariadbd(8)
             https://mariadb.com/kb/en/library/systemd/
    Process: 22423 ExecStartPre=/usr/bin/install -m 755 -o mysql -g root -d /var/run/mysqld (code=exited, status=0/SUCCESS)
    Process: 22424 ExecStartPre=/bin/sh -c systemctl unset-environment _WSREP_START_POSITION (code=exited, status=0/SUCCESS)
    Process: 22427 ExecStartPre=/bin/sh -c [ ! -e /usr/bin/galera_recovery ] && VAR= ||   VAR=`cd /usr/bin/..; /usr/bin/galera_recovery`; [ $? -eq 0 ]   && >
    Process: 22492 ExecStartPost=/bin/sh -c systemctl unset-environment _WSREP_START_POSITION (code=exited, status=0/SUCCESS)
    Process: 22495 ExecStartPost=/etc/mysql/debian-start (code=exited, status=0/SUCCESS)
   Main PID: 22463 (mariadbd)
     Status: "Taking your SQL requests now..."
      Tasks: 11 (limit: 2200)
     Memory: 61.0M
        CPU: 425ms
     CGroup: /system.slice/mariadb.service
             └─22463 /usr/sbin/mariadbd
By default, MariaDB is not hardened. You can secure MariaDB using the mysql_secure_installation script.
# mysql_secure_installationConfigure it like this:
- Set root password? [Y/n] Y
- Remove anonymous users? [Y/n] Y
- Disallow root login remotely? [Y/n] Y
- Remove test database and access to it? [Y/n] Y
- Reload privilege tables now? [Y/n] Y
Now run the command below to log in to the MariaDB shell.
# mysql -u root -pOnce you are logged in to your database server you need to create a database for the Chamilo installation:
MariaDB [(none)]> CREATE DATABASE chamilo;
MariaDB [(none)]> CREATE USER 'chamilo'@'localhost' IDENTIFIED BY 'Str0ngPasrf1';
MariaDB [(none)]> GRANT ALL PRIVILEGES ON chamilo. * TO 'chamilo'@'localhost';
MariaDB [(none)]> FLUSH PRIVILEGES;
MariaDB [(none)]> exit;
Step 5: Download Chamilo
Download the latest version of Chamilo. Find the newest version of this software on the official download page.
As of writing this tutorial, the latest stable version is 1.11.18.
# wget https://github.com/chamilo/chamilo-lms/releases/download/v1.11.18/chamilo-1.11.18.zipExtract the downloaded package:
# apt install unzip
# unzip chamilo-1.11.18.zip
Copy the extracted files to the Apache web root directory:
# mv chamilo-1.11.18 /var/www/html/chamiloSet the ownership and permissions of the Chamilo directory:
# chown -R www-data:www-data /var/www/html/chamilo
# chmod -R 755 /var/www/html/chamilo
Step 6: Configure Apache for Chamilo
Run the commands below to create a new VirtualHost file called chamilo in the /etc/apache2/sites-available/ directory.
# nano /etc/apache2/sites-available/chamilo.confPaste the content as shown below:
 <VirtualHost *:80>
    ServerAdmin admin@your-domain.com
    DocumentRoot /var/www/html/chamilo/

    ServerName your-domain.com
    ServerAlias www.your-domain.com

    <Directory /var/www/html/chamilo/>
        AllowOverride All
        Require all granted
    </Directory>

    ErrorLog /var/log/apache2/your-domain.com-error_log
    CustomLog /var/log/apache2/your-domain.com-access_log common

 </VirtualHost>
Remember to replace your-domain.com with the domain name of your server.
Save and exit the configuration file.
Then enable the "rewrite" module in Apache:
# a2enmod rewriteTo enable this site run the command:
# a2ensite chamilo.confTo implement the changes, restart Apache webserver:
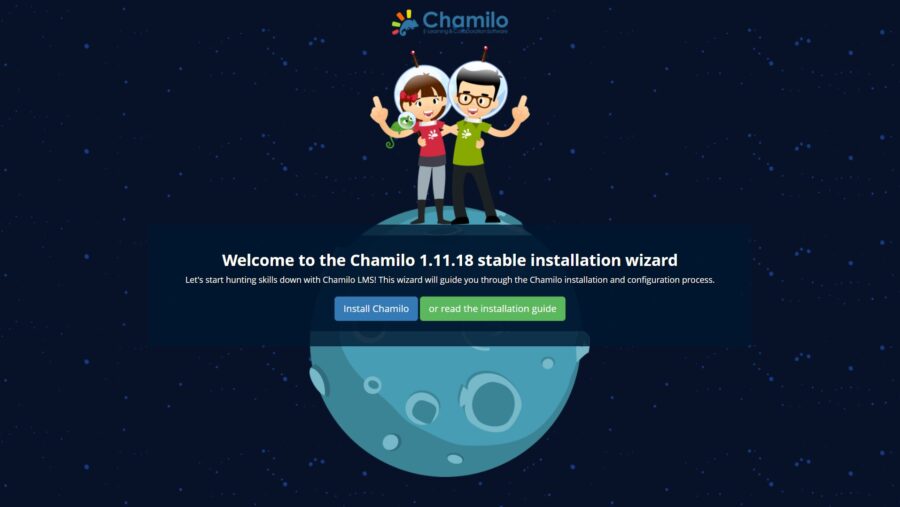
# systemctl restart apache2Step 7: Access Chamilo Web Interface
To access the Chamilo installation wizard, go to your browser and visit http://your-domain.com.
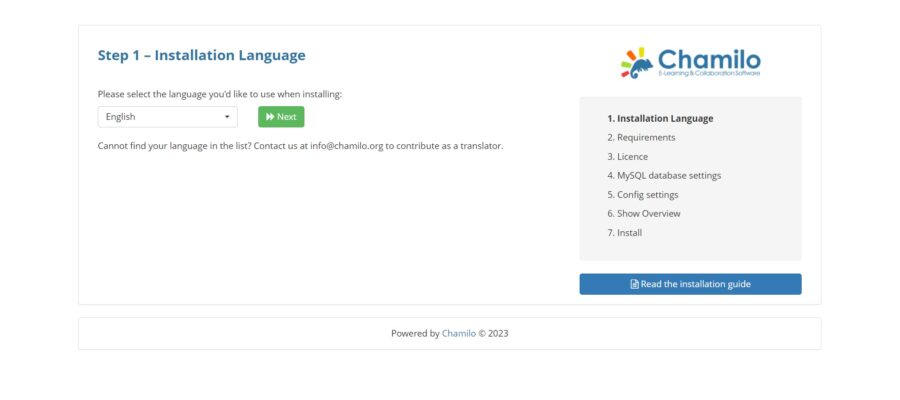
Select the language you’d like to use when installing:
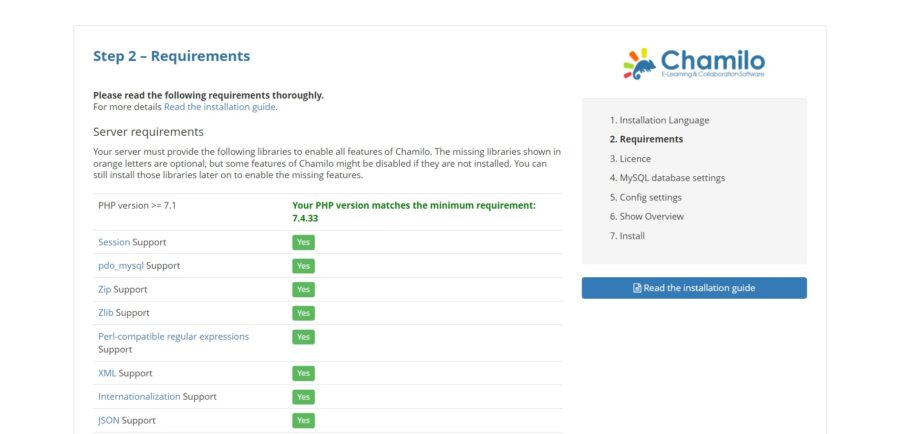
Then, you will see the system requirements screen:
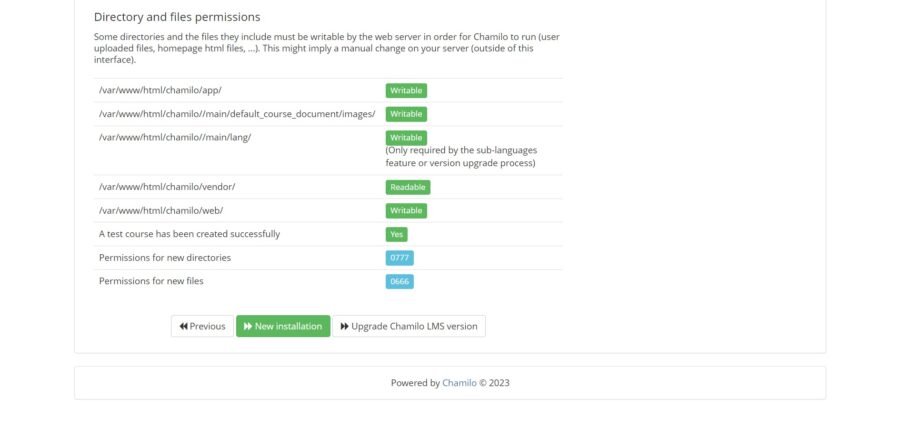
At the bottom, you will see the New Installation button that you have to click:
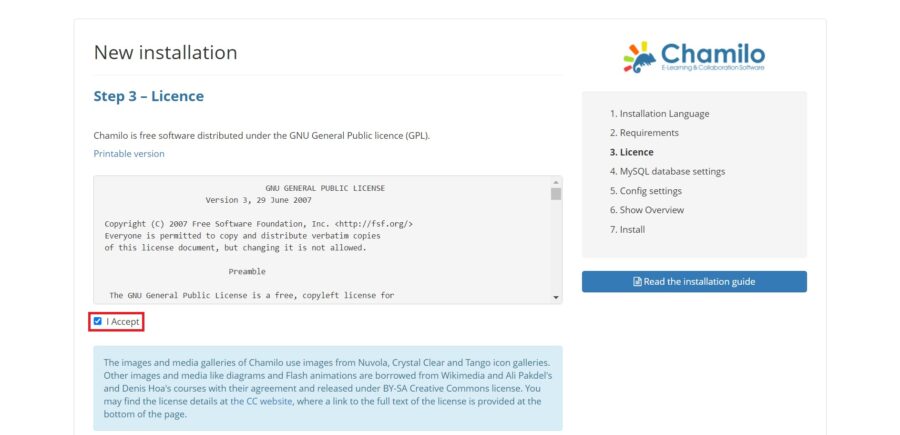
Then, accept the application license:
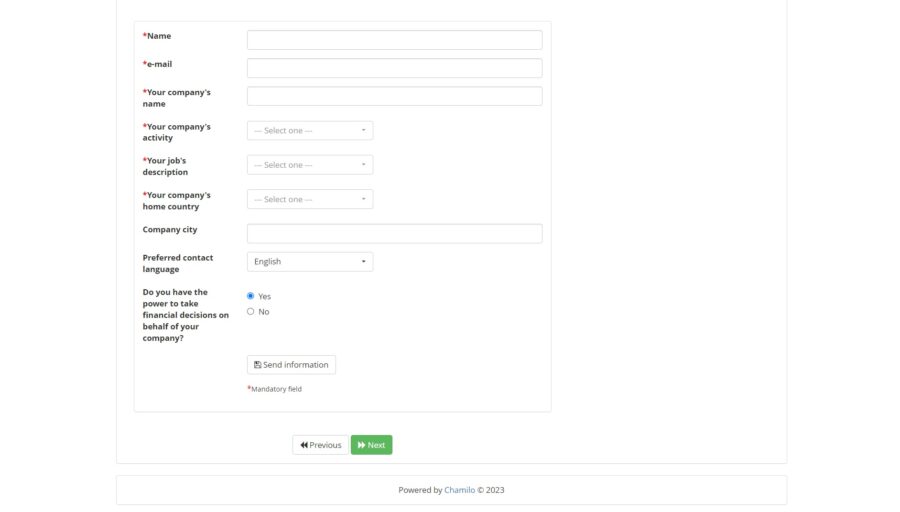
Set your company name, your name, and email, as well as the language to use. This data will help the program to evolve.
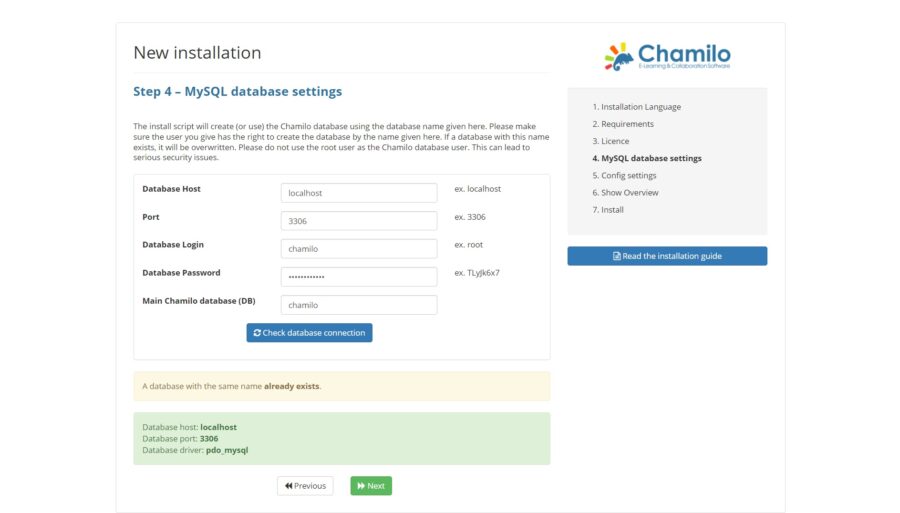
Provide your database information and click on the Next.
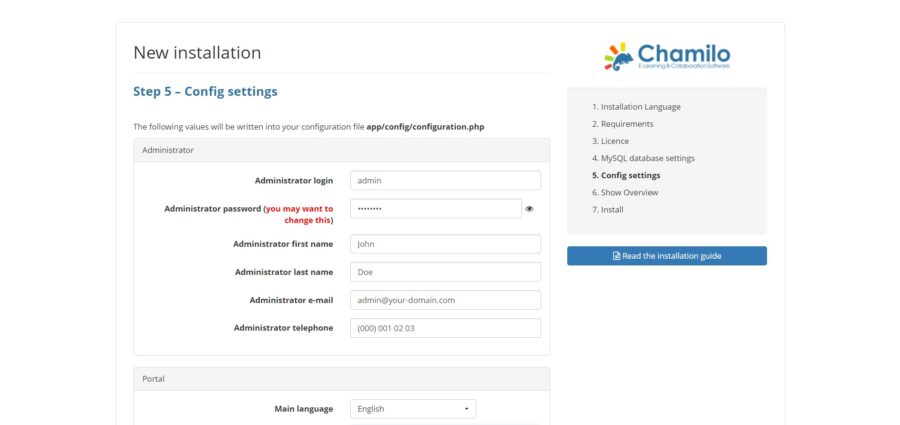
Provide your site information and click on the Next.
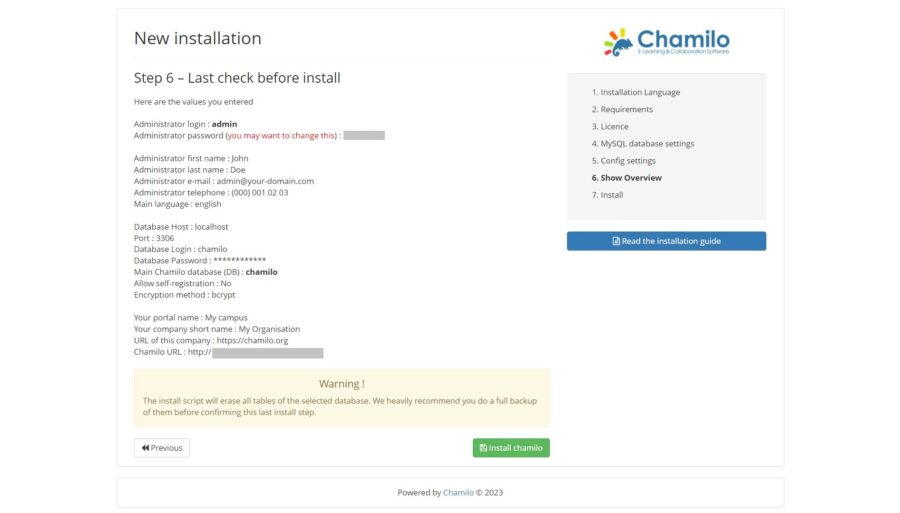
You will see a summary of the installation:
Then, the installation will start and if everything went well, you will see the following screen:
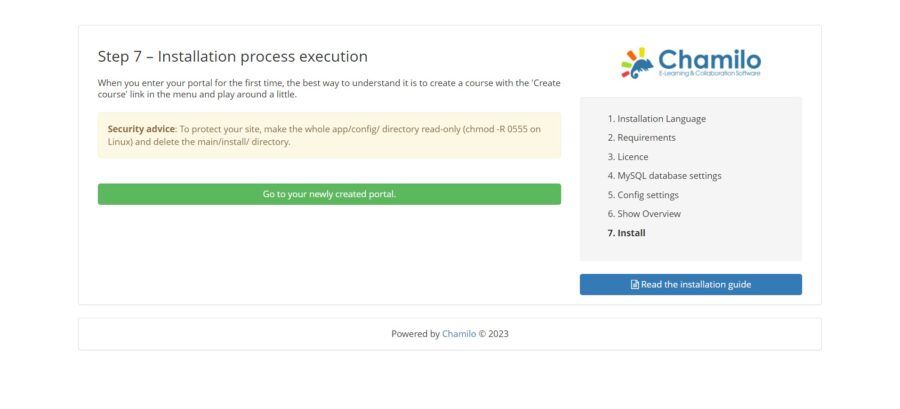
To protect your config directory run the following command:
# chmod -R 555 /var/www/html/chamilo/app/configTo delete the installation folder, run the command below on the server:
# rm -r /var/www/html/chamilo/main/installAfter deleting the folder go to http://your-domain.com/ and you will get the login page.
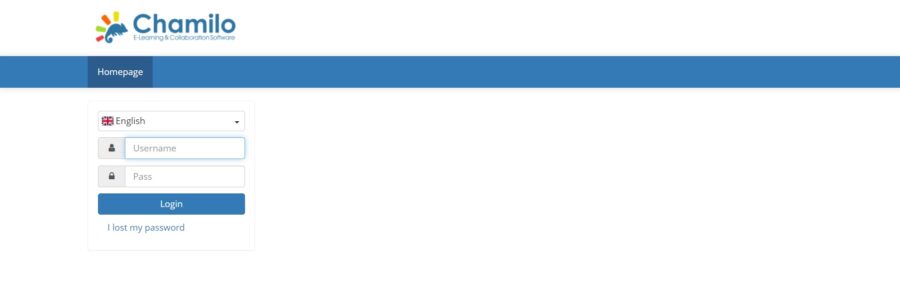
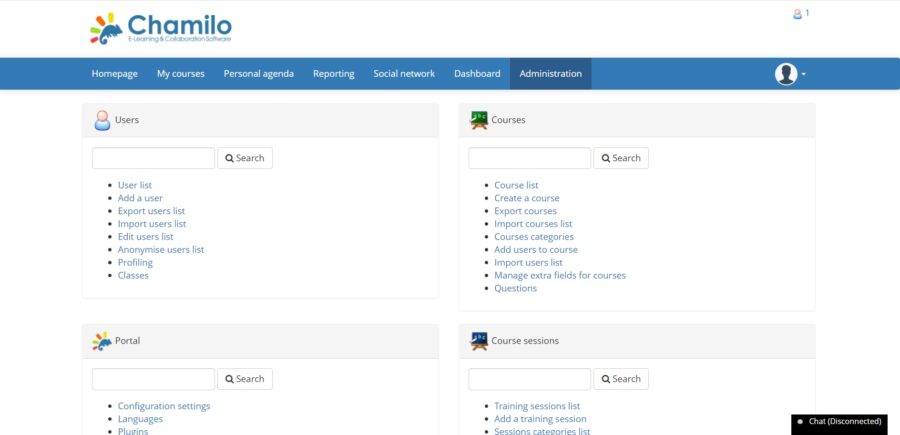
Provide your admin username and password and click on Login. You will be redirected to the dashboard:
Comments and Conclusion
Congratulations! You have successfully installed Chamilo LMS. Thanks for using this tutorial for installing the Chamilo LMS on Ubuntu 22.04 OS.
For additional help or useful information, we recommend you to check the official Chamilo LMS documentation.