
WordPress is a popular content management system (CMS) used for creating and managing websites. It is an open-source platform written in PHP and paired with a MySQL or MariaDB database. WordPress provides a user-friendly interface and a wide range of themes, plugins, and customization options, making it accessible to users with varying levels of technical expertise.
In this tutorial we’ll show you how to install WordPress on Debian 12 OS.
Step 1: Update Operating System
Update your Debian 12 operating system to make sure all existing packages are up to date:
# apt update && apt upgradeAlso, install necessary packages:
# apt install nano wget unzipStep 2: Install Nginx web server on Debian 12
To install Nginx, run the following command:
# apt install nginxYou can start the Nginx service and configure it to run on startup by entering the following commands:
# systemctl start nginx
# systemctl enable nginx
Verify the status of the Nginx service using systemctl status command:
# systemctl status nginx● nginx.service - A high performance web server and a reverse proxy server
Loaded: loaded (/lib/systemd/system/nginx.service; enabled; preset: enabled)
Active: active (running)
Docs: man:nginx(8)
Process: 674 ExecStartPre=/usr/sbin/nginx -t -q -g daemon on; master_process on; (code=exited, status=0/SUCCESS)
Process: 873 ExecStart=/usr/sbin/nginx -g daemon on; master_process on; (code=exited, status=0/SUCCESS)
Main PID: 875 (nginx)
Tasks: 2 (limit: 2273)
Memory: 4.5M
CPU: 402ms
CGroup: /system.slice/nginx.service
├─875 "nginx: master process /usr/sbin/nginx -g daemon on; master_process on;"
└─876 "nginx: worker process"Step 3: Install PHP and PHP extensions for WordPress
You can install PHP and other supporting packages using the following command:
# apt install php php-curl php-fpm php-bcmath php-gd php-soap php-zip php-curl php-mbstring php-mysqlnd php-gd php-xml php-intl php-zipVerify if PHP is installed.
php -vOutput:
PHP 8.2.7 (cli) (built: Jun  9 2023 19:37:27) (NTS)
Copyright (c) The PHP Group
Zend Engine v4.2.7, Copyright (c) Zend Technologies
    with Zend OPcache v8.2.7, Copyright (c), by Zend Technologies
After installing all the packages, edit the php.ini file:
# nano /etc/php/8.2/fpm/php.iniChange the following settings per your requirements:
max_execution_time = 300
memory_limit = 512M
post_max_size = 128M
upload_max_filesize = 128M
To implement the changes, restart the php-fpm service:
# systemctl restart php8.2-fpmStep 4: Install MariaDB Database Server
You can install MariaDB with the following command:
# apt install mariadb-server mariadb-clientStart the database server daemon, and also enable it to start automatically at the next boot with the following commands:
# systemctl start mariadb
# systemctl enable mariadb
Verify the status of the MariaDB service using systemctl status command:
# systemctl status mariadbOutput:
● mariadb.service - MariaDB 10.11.3 database server
     Loaded: loaded (/lib/systemd/system/mariadb.service; enabled; preset: enabled)
     Active: active (running)
       Docs: man:mariadbd(8)
             https://mariadb.com/kb/en/library/systemd/
   Main PID: 959 (mariadbd)
     Status: "Taking your SQL requests now..."
      Tasks: 12 (limit: 2273)
     Memory: 256.5M
        CPU: 6.621s
     CGroup: /system.slice/mariadb.service
             └─959 /usr/sbin/mariadbd
Once the database server is installed, run the following command to secure your MariaDB server:
# mysql_secure_installationYou will then be asked several configuration questions, which you must answer Y to each of them.
Remove anonymous users? [Y/n]: Y
Disallow root login remotely? [Y/n]: Y
Remove test database and access to it? [Y/n]:  Y
Reload privilege tables now? [Y/n]:  Y
Restart the database server for the changes to take effect.
# systemctl restart mariadbStep 5: Create a New Database for WordPress
To do this, log in to your MariaDB server using the following command:
# mysql -u root -pRun the following commands to create a new database and user:
MariaDB [(none)]> CREATE DATABASE wordpress_db;
MariaDB [(none)]> GRANT ALL PRIVILEGES ON wordpress_db.* TO 'wordpress_user'@'localhost' IDENTIFIED BY 'password';
MariaDB [(none)]> FLUSH PRIVILEGES;
MariaDB [(none)]> EXIT
Note: Make sure to replace 'password' with a strong password of your choice.
Step 6: Download WordPress
We will now download the latest version of WordPress from the WordPress Official site.
Use the following command to download WordPress:
# wget https://wordpress.org/latest.zipExtract file into the folder /var/www/html/ with the following command,
# unzip latest.zip -d /var/www/html/Next, navigate to the /var/www/html/wordpress/ directory:
# cd /var/www/html/wordpressWordPress comes with a configuration sample file. Make a copy of this file:
# cp wp-config-sample.php wp-config.phpNext, edit the WordPress configuration file and define your database settings:
# nano wp-config.phpChange the following lines that match your database settings:
/** The name of the database for WordPress */
define( 'DB_NAME', 'wordpress_db' );

/** MySQL database username */
define( 'DB_USER', 'wordpress_user' );

/** MySQL database password */
define( 'DB_PASSWORD', 'password' );

/** MySQL hostname */
define( 'DB_HOST', 'localhost' );
Save the file when you are finished.
Change the permission of the website directory:
# chown -R www-data:www-data /var/www/html/wordpress/Step 7: Configure Nginx Web Server for WordPress
Navigate to /etc/nginx/conf.d directory and run the following command to create a configuration file for your installation:
# nano /etc/nginx/conf.d/wordpress.confAdd the following content:
server {
  listen 80;

    server_name  your-domain.com www.your-domain.com;
    root   /var/www/html/wordpress;
    index  index.php;

    access_log /var/log/nginx/your-domain.com.access.log;
    error_log /var/log/nginx/your-domain.com.error.log;

    client_max_body_size 100M;

    location / {
     try_files $uri $uri/ /index.php?$args;
      }

    location ~ \.php$ {
         include snippets/fastcgi-php.conf;
         fastcgi_pass unix:/var/run/php/php8.2-fpm.sock;
         include fastcgi_params;
         fastcgi_intercept_errors on;
    }
}
Save the file and Exit.
Restart the Nginx web server.
# systemctl restart nginxStep 8: Access WordPress Web Installer
Open your browser type your domain e.g http://your-domain.com You will be redirected to the language selection screen:
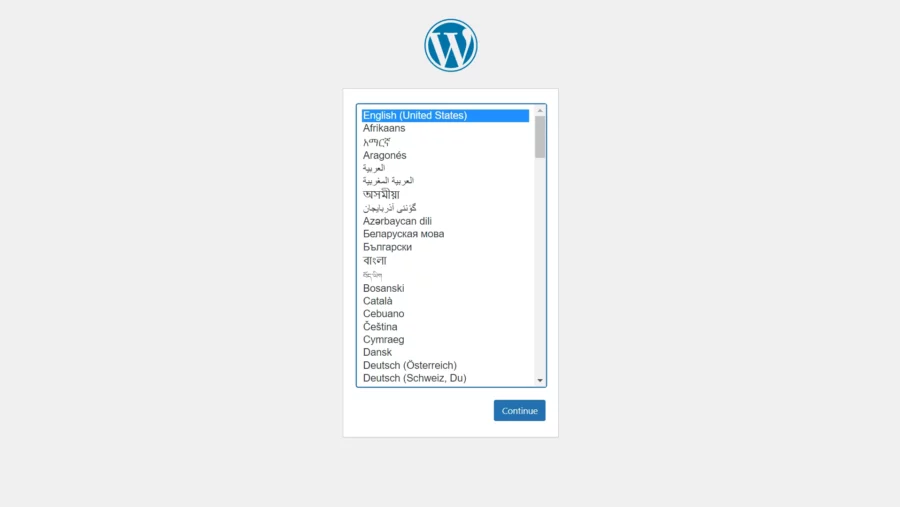
Select your language and click on the Continue button.
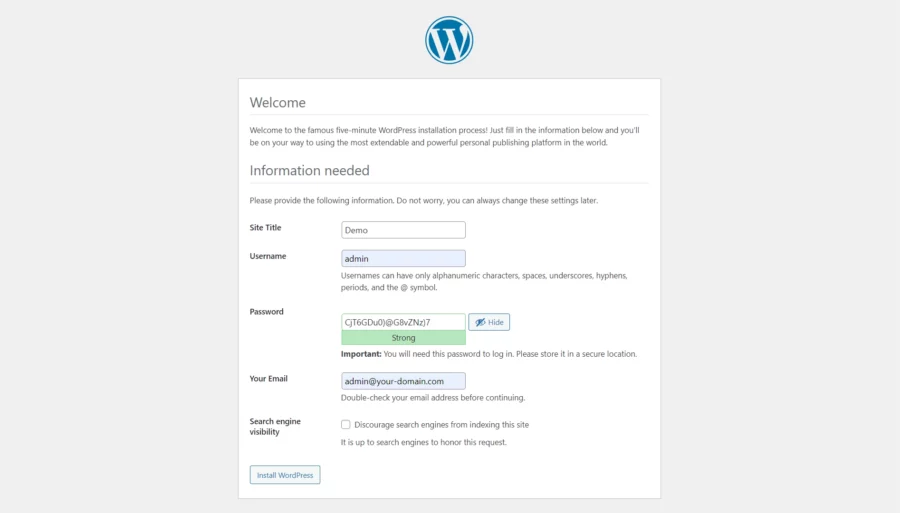
Provide the requested information and click on the Install WordPress button. Once the installation has been finished. You should see the following screen:
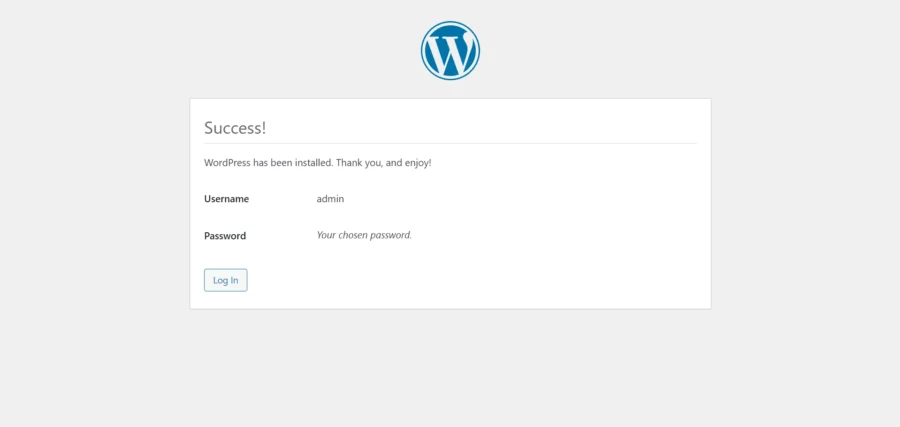
Click on the Log in button. You should see the WordPress login screen:
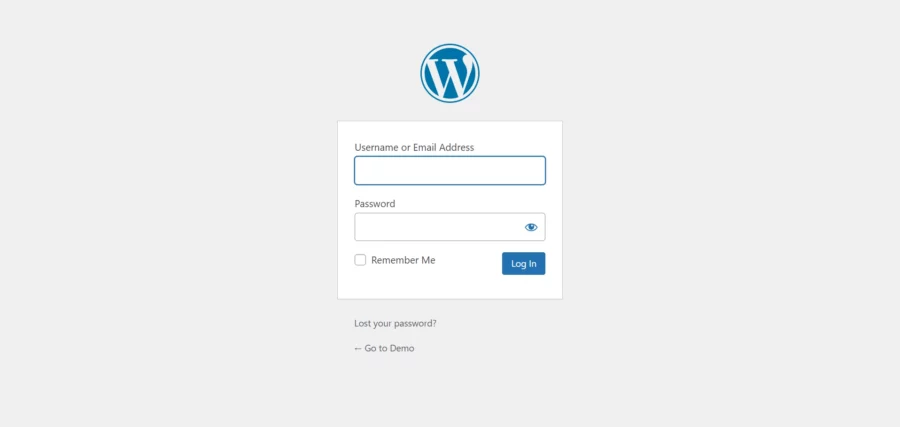
Enter your administrator user, password and click on the Log In button. You will get the dashboard in the following screen:

Comments and Conclusion
That’s it. You have successfully installed WordPress CMS (Content Management System) on Debian 12 OS.
For additional help or useful information, we recommend you to check the official WordPress documentation.
If you have any questions please leave a comment below.
my localhost displays “Apache2 Debian Default Page”
my localhost/wordpress says “403 Forbidden, nginx/1.22.1”
im pretty sure i have followed everything correctly
do you have any idea where my wp is and how do i access it?
Please make sure that your Nginx server block is properly configured.
Hi Onta Nicolae
Please edit in wordpress.conf
nano /etc/nginx/conf.d/wordpress.conf
Please change
server_name
your-domain.com www.your-domain.com; with your’s domain.For expmple:
server_name
www.example.com;what to do if we dont have a domain
It’s not work!! The same error of the sammer says.
If you do not have a valid domain you can use your server IP address instead of
your-domain.com www.your-domain.com.The server name should be for example:
You can check your server IP address with the following command:
You’ll be shown all IP addresses that are in your network.
It works without a problem
great tutorial! Thank you
Florin