
Glassfish is a free, open-source Java application server that simplifies the process of deploying Java applications to a scalable platform. Originally developed by Sun Microsystems, GlassFish is now maintained by Oracle and is released under both the Common Development and Distribution License as well as the GPL.
In this tutorial, we will show you the complete steps to install GlassFish on Debian 12 OS.
Step 1: Update Operating System
Update your Debian 12 operating system to make sure all existing packages are up to date:
# apt update && apt upgradeStep 2: Install Java (OpenJDK) on Debian 12
Java packages are available on Debian 12 repositories and you can install it with the following command:
# apt install default-jdkCheck Java version after installation:
# java -version
openjdk version "17.0.7" 2023-04-18
OpenJDK Runtime Environment (build 17.0.7+7-Debian-1deb12u1)
OpenJDK 64-Bit Server VM (build 17.0.7+7-Debian-1deb12u1, mixed mode, sharing)
Step 3: Download GlassFish
Check the official GlassFish Download page to locate the latest version of the software.
The latest version at the moment is 7.0.6. You can download it with the following command:
# wget https://download.eclipse.org/ee4j/glassfish/glassfish-7.0.6.zipOnce that downloads, unpack it into /opt with:
# unzip glassfish-7.0.6.zip -d /optStep 4: Create a systemd file for GlassFish
You need to create a systemd file so you can control the GlassFish service. Create the file with the following command:
# nano /usr/lib/systemd/system/glassfish.serviceIn that file, paste the following content:
[Unit]
Description = GlassFish Server v7.0.6
After = syslog.target network.target

[Service]
User = root
ExecStart = /usr/bin/java -jar /opt/glassfish7/glassfish/lib/client/appserver-cli.jar start-domain
ExecStop = /usr/bin/java -jar /opt/glassfish7/glassfish/lib/client/appserver-cli.jar stop-domain
ExecReload = /usr/bin/java -jar /opt/glassfish7/glassfish/lib/client/appserver-cli.jar restart-domain
Type = forking

[Install]
WantedBy = multi-user.target
Reload system daemon and start the service:
# systemctl daemon-reload
# systemctl start glassfish
# systemctl enable glassfish
To confirm everything is working normally, check the status of service:
# systemctl status glassfishOutput:
● glassfish.service - GlassFish Server v7.0.6
Loaded: loaded (/lib/systemd/system/glassfish.service; enabled; preset: enabled)
Active: active (running)
Process: 1355 ExecStart=/usr/bin/java -jar /opt/glassfish7/glassfish/lib/client/appserver-cli.jar start-domain (code=exited, status=0/SUCCESS)
Main PID: 1370 (java)
Tasks: 89 (limit: 2273)
Memory: 314.9M
CPU: 22.599s
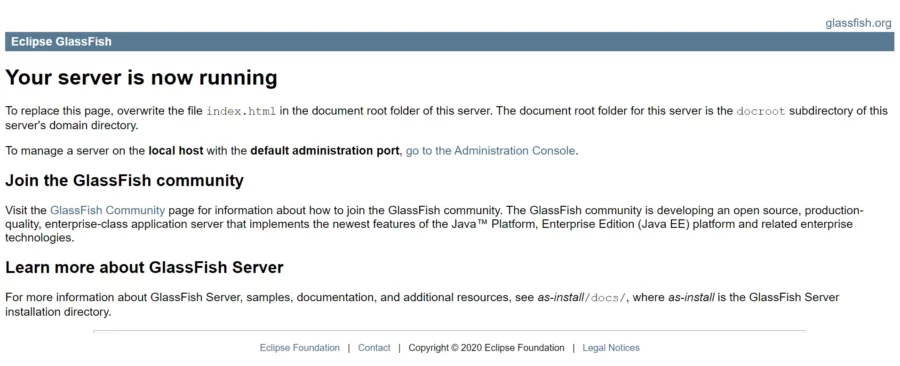
CGroup: /system.slice/glassfish.serviceStep 5: Access GlassFish console on web browser
To test your installation, open your web browser and type https://your-IP-address:8080. You will see the default GlassFish page.
Step 6: Configure GlassFish
With GlassFish installed, you now must configure it with an admin password. The default password is blank, so you’ll want to create one with the command:
# /opt/glassfish7/bin/asadmin --port 4848 change-admin-passwordWhen you run this command, you will be prompted to supply the admin password and details as shown below.
Enter admin user name [default: admin]> admin
Enter the admin password> )> Just press the Enter key
Enter the new admin password>
Enter the new admin password again>
Once that’s taken care of, to access the administration panel remotely, run the following command.
# /opt/glassfish7/bin/asadmin --port 4848 enable-secure-adminEnter admin user name> admin
Enter admin password for user " admin" >
You must restart all running servers for the change in secure admin to take effect.
Command enable-secure-admin executed successfully.After setting the administrative panel, restart the domain.
# /opt/glassfish7/bin/asadmin --port 4848 restart-domainYou can now access the GlassFish admin panel at http://your-IP-address:4848.
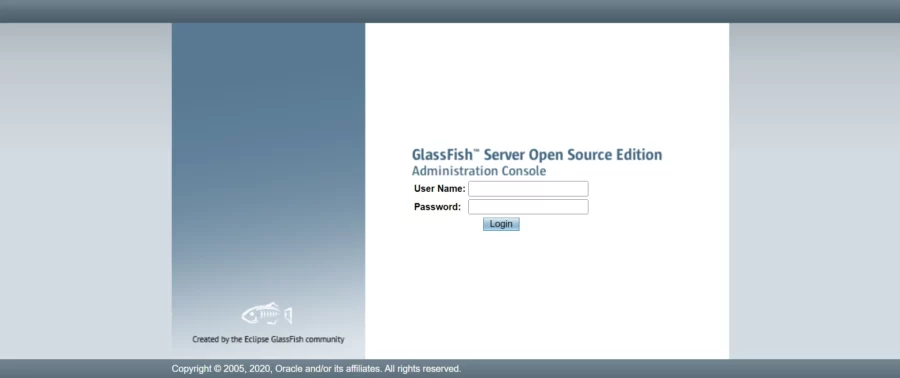
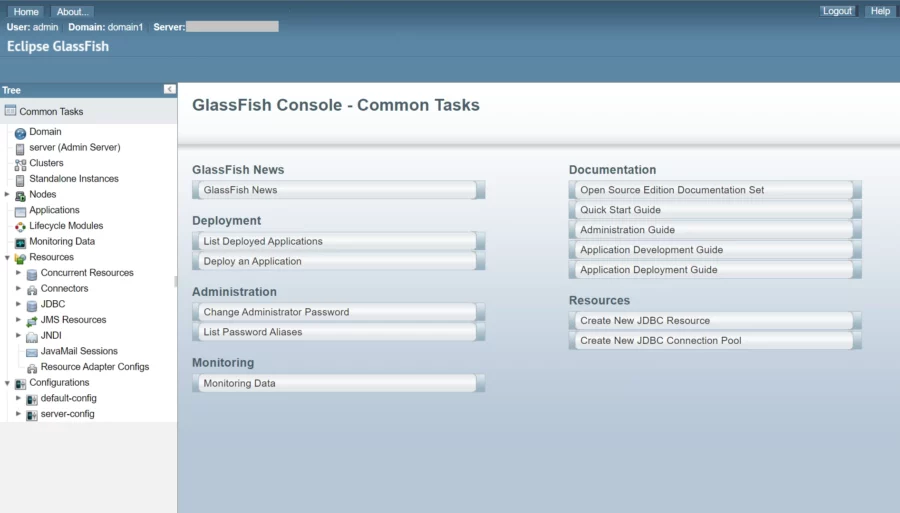
Provide your admin username and password and click on Login. You should see the GlassFish dashboard:
Comments and Conclusion
That’s it! You have now installed and started GlassFish on your Debian system. Remember that this guide assumes you have administrative privileges on your system. Always check the official GlassFish documentation for the most up-to-date installation instructions and any specific considerations related to your system configuration.