
PyroCMS is a popular open-source content management system (CMS) that is built on top of the Laravel PHP framework. It is a powerful and flexible CMS that can be used to create websites, blogs, and online stores.
In this tutorial, we will guide you through the process of installing PyroCMS on Ubuntu 22.04.
Step 1: Update Operating System
The first step is to ensure that your system is up-to-date. You can do this by running the following command:
$ sudo apt update && sudo apt upgrade -yStep 2: Install Nginx Web Server
PyroCMS requires a web server to run, and we will be using the Nginx web server in this tutorial. To install Nginx, run the following command:
$ sudo apt install nginxYou can start the Nginx service and configure it to run on startup by entering the following commands:
$ sudo systemctl start nginx
$ sudo systemctl enable nginx
Verify the status of the Nginx service using systemctl status command:
$ sudo systemctl status nginxOutput:
● nginx.service - A high performance web server and a reverse proxy server
     Loaded: loaded (/lib/systemd/system/nginx.service; enabled; vendor preset: enabled)
     Active: active (running)
       Docs: man:nginx(8)
    Process: 64219 ExecStartPre=/usr/sbin/nginx -t -q -g daemon on; master_process on; (code=exited, status=0/SUCCESS)
    Process: 64220 ExecStart=/usr/sbin/nginx -g daemon on; master_process on; (code=exited, status=0/SUCCESS)
   Main PID: 64310 (nginx)
      Tasks: 2 (limit: 2200)
     Memory: 3.3M
        CPU: 181ms
     CGroup: /system.slice/nginx.service
             ├─64310 "nginx: master process /usr/sbin/nginx -g daemon on; master_process on;"
             └─64313 "nginx: worker process"
Step 3: Install PHP and PHP extensions for PyroCMS
PyroCMS requires PHP version 7.4 or later to be installed on your Ubuntu system. By default, Ubuntu 22.04 comes with PHP version 8.1.
To install PHP and the necessary extensions, run the following command:
$ sudo apt install php php-cli php-fpm php-json php-common php-mysql php-zip php-gd php-mbstring php-curl php-xml php-pearOnce the installation is complete verify if PHP is installed:
php -vOutput:
PHP 8.1.2-1ubuntu2.10 (cli) (built: Jan 16 2023 15:19:49) (NTS)
Copyright (c) The PHP Group
Zend Engine v4.1.2, Copyright (c) Zend Technologies
with Zend OPcache v8.1.2-1ubuntu2.10, Copyright (c), by Zend Technologies
Step 4: Install Composer dependency manager
Composer is a dependency manager for PHP that is required for installing PyroCMS. To install Composer, run the following commands:
curl -sS https://getcomposer.org/installer | php
sudo mv composer.phar /usr/local/bin/composer
Verify that Composer has been installed successfully by running the following command:
composer --version
Composer version 2.5.4 2023-02-15 13:10:06
Step 5: Install MariaDB database server
PyroCMS requires a database to store content and other information. In this tutorial, we will be using MariaDB, a popular open-source database server.
To install the MariaDB database server, run the following command:
$ sudo apt install mariadb-server mariadb-clientVerify the status of the MariaDB service using systemctl status command:
$ sudo systemctl status mariadbOutput:
● mariadb.service - MariaDB 10.6.12 database server
     Loaded: loaded (/lib/systemd/system/mariadb.service; enabled; vendor preset: enabled)
     Active: active (running)
       Docs: man:mariadbd(8)
             https://mariadb.com/kb/en/library/systemd/
    Process: 60189 ExecStartPre=/usr/bin/install -m 755 -o mysql -g root -d /var/run/mysqld (code=exited, status=0/SUCCESS)
    Process: 60190 ExecStartPre=/bin/sh -c systemctl unset-environment _WSREP_START_POSITION (code=exited, status=0/SUCCESS)
    Process: 60192 ExecStartPre=/bin/sh -c [ ! -e /usr/bin/galera_recovery ] && VAR= ||   VAR=`cd /usr/bin/..; /usr/bin/galera_recovery`; [ $? -eq 0 ]   && >
    Process: 60235 ExecStartPost=/bin/sh -c systemctl unset-environment _WSREP_START_POSITION (code=exited, status=0/SUCCESS)
    Process: 60237 ExecStartPost=/etc/mysql/debian-start (code=exited, status=0/SUCCESS)
   Main PID: 60221 (mariadbd)
     Status: "Taking your SQL requests now..."
      Tasks: 9 (limit: 2200)
     Memory: 61.0M
        CPU: 541ms
     CGroup: /system.slice/mariadb.service
             └─60221 /usr/sbin/mariadbd
Once the installation is complete, run the following command to secure your MariaDB server:
$ sudo mysql_secure_installationConfigure it like this:
- Set root password? [Y/n] Y
- Remove anonymous users? [Y/n] Y
- Disallow root login remotely? [Y/n] Y
- Remove test database and access to it? [Y/n] Y
- Reload privilege tables now? [Y/n] Y
Step 6: Create a New Database for PyroCMS
Once you have installed MariaDB, you’ll need to create a new database and user for PyroCMS to use.
To do this, log in to your MariaDB server using the following command:
$ sudo mysql -u root -pYou will be prompted to enter your root password. Once you have entered your password, you will be taken to the MariaDB prompt.
Run the following commands to create a new database and user:
MariaDB [(none)]> CREATE DATABASE pyrocms;
MariaDB [(none)]> GRANT ALL PRIVILEGES ON pyrocms.* TO 'pyro'@'localhost' IDENTIFIED BY 'password';
MariaDB [(none)]> FLUSH PRIVILEGES;
MariaDB [(none)]> EXIT;
Note: Make sure to replace 'password' with a strong password of your choice.
Step 7: Download and Install PyroCMS
Create a new directory for your PyroCMS installation using the following command:
$ sudo mkdir /var/www/pyrocmsDownload the latest stable release of PyroCMS from the command line:
$ cd /var/www/pyrocms
$ sudo composer create-project pyrocms/pyrocms .
Change ownership of the /var/www/pyrocms directory to www-data.
$ sudo chown -R www-data:www-data /var/www/pyrocmsStep 8: Configure Nginx for PyroCMS
Run the commands below to create a new VirtualHost file called pyrocms in the /etc/nginx/conf.d/ directory.
$ sudo nano /etc/nginx/conf.d/pyrocms.confPaste the content as shown below:
server {
  listen 80;
  server_name your-domain.com www.your-domain.com;
  root /var/www/pyrocms/public;
  index index.php index.html;
  charset utf-8;
  location / {
    try_files $uri $uri/ /index.php?$args;
  }
  location ~ .php$ {
    fastcgi_pass unix:/var/run/php/php8.1-fpm.sock;
    fastcgi_index index.php;
    fastcgi_param SCRIPT_FILENAME $document_root$fastcgi_script_name;
    include fastcgi_params;
  }
}
Remember to replace your-domain.com with the domain name of your server.
Save and exit the configuration file.
To implement the changes, restart Nginx webserver:
$ sudo systemctl restart nginxStep 9: Access PyroCMS Web Interface
Open your web browser and type the URL http://your-domain.com. You should see the PyroCMS installation page.
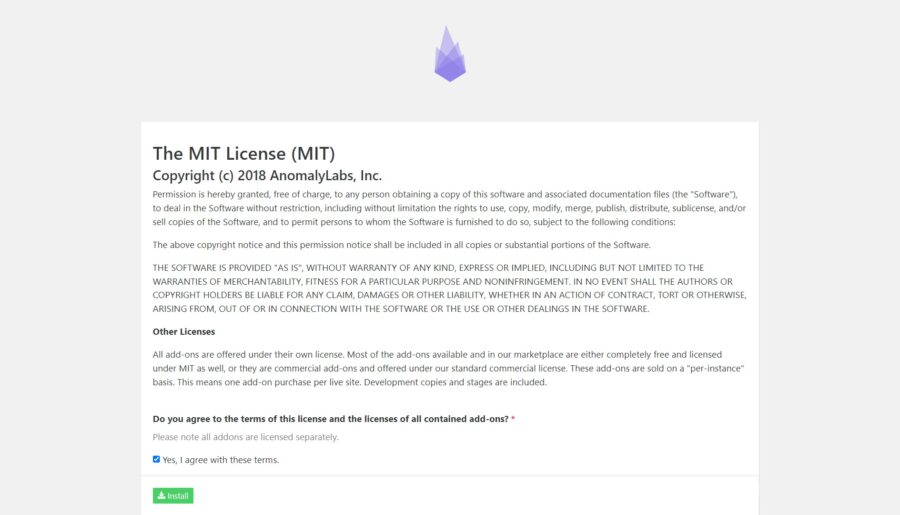
Follow the on-screen instructions to complete the installation process. Agree to the license agreement and provide all the information like a database connection and creating an admin user.
Then click on the Install button, you should see the following page:
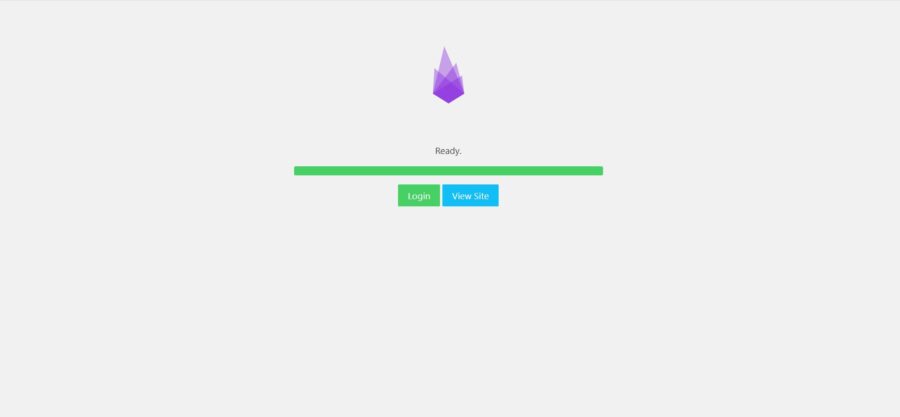
Now, click on Login button, you should see the following page:
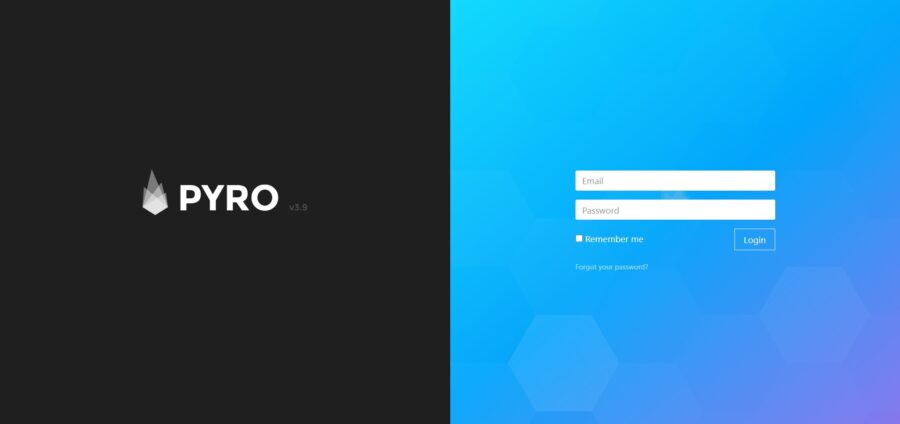
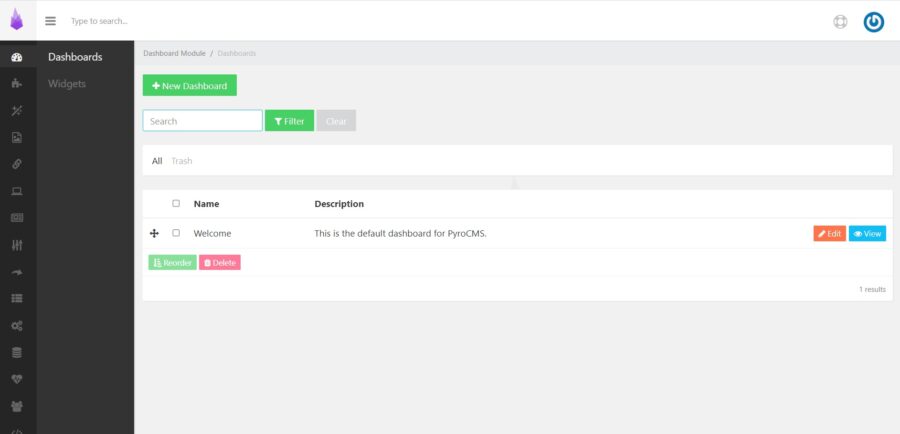
Provide your admin credential and click on the Login button, you should see the PyroCMS dashboard in the following page:
Comments and Conclusion
That’s it! You have successfully installed PyroCMS on your Ubuntu 22.04 system. You can now start building your website using PyroCMS.
To access the PyroCMS admin area just append /admin to your site URL.
For additional help or useful information, we recommend you to check the official PyroCMS documentation.