
MediaWiki is a free and open-source wiki software platform used to power various wikis, including the most well-known one, Wikipedia.
MediaWiki is written in PHP and uses a backend database (usually MySQL or MariaDB) to store the content. It provides a powerful platform for creating collaborative websites, knowledge bases, documentation systems, and more.
In this tutorial, we will show you how to install MediaWiki on Debian 12 OS.
Step 1: Update Operating System
Update your Debian 12 operating system to the latest version with the following command:
# apt update && apt upgradeAlso, install necessary packages.
# apt install curl nano wget unzip zipStep 2: Install Apache webserver
You can install it via apt package manager by executing the following command.
# apt install apache2Verify the status of the Apache service using systemctl status command:
# systemctl status apache2Output:
● apache2.service - The Apache HTTP Server
     Loaded: loaded (/lib/systemd/system/apache2.service; enabled; preset: enabled)
     Active: active (running)
       Docs: https://httpd.apache.org/docs/2.4/
    Process: 24002 ExecStart=/usr/sbin/apachectl start (code=exited, status=0/SUCCESS)
   Main PID: 24006 (apache2)
      Tasks: 6 (limit: 2273)
     Memory: 23.4M
        CPU: 13.701s
     CGroup: /system.slice/apache2.service
             ├─24006 /usr/sbin/apache2 -k start
             ├─24206 /usr/sbin/apache2 -k start
             ├─24207 /usr/sbin/apache2 -k start
             ├─24208 /usr/sbin/apache2 -k start
Step 3: Install PHP and required extensions
To install PHP and the necessary extensions, run the following command:
# apt install php libapache2-mod-php php-cli php-intl php-json php-common php-mbstring php-apcu php-mysql php-zip php-gd php-mbstring php-curl php-xml imagemagickOnce the installation is complete verify if PHP is installed:
php -vOutput:
PHP 8.2.7 (cli) (built: Jun 9 2023 19:37:27) (NTS)
Copyright (c) The PHP Group
Zend Engine v4.2.7, Copyright (c) Zend Technologies
with Zend OPcache v8.2.7, Copyright (c), by Zend TechnologiesStep 4: Install MariaDB and create a database
To install MariaDB run the following command:
# apt install mariadb-server mariadb-clientVerify the status of the MariaDB service using systemctl status command:
# systemctl status mariadbOutput:
● mariadb.service - MariaDB 10.11.4 database server
     Loaded: loaded (/lib/systemd/system/mariadb.service; enabled; preset: enabled)
     Active: active (running)
       Docs: man:mariadbd(8)
             https://mariadb.com/kb/en/library/systemd/
   Main PID: 24964 (mariadbd)
     Status: "Taking your SQL requests now..."
      Tasks: 12 (limit: 2273)
     Memory: 87.9M
        CPU: 4.312s
     CGroup: /system.slice/mariadb.service
             └─24964 /usr/sbin/mariadbd
Now run the command below to log in to the MariaDB shell.
# mysql -u rootOnce you are logged in to your database server you need to create a database for the MediaWiki installation:
MariaDB [(none)]> CREATE DATABASE mediawikidb;
MariaDB [(none)]> CREATE USER 'mediawikiuser'@'localhost' IDENTIFIED BY 'Str0ngPassw0rd';
MariaDB [(none)]> GRANT ALL PRIVILEGES ON mediawikidb. * TO 'mediawikiuser'@'localhost';
MariaDB [(none)]> FLUSH PRIVILEGES;
MariaDB [(none)]> EXIT;
Step 5: Install Composer dependency manager
To install Composer, run the following commands:
# curl -sS https://getcomposer.org/installer | php
# mv composer.phar /usr/local/bin/composer
Verify that Composer has been installed successfully by running the following command:
# composer --version
Composer version 2.6.6 2023-12-08 18:32:26
Step 6: Download MediaWiki
The latest version of MediaWiki is available to from the official website of MediaWiki. You can download it with the following command:
# wget https://releases.wikimedia.org/mediawiki/1.40/mediawiki-1.40.1.zipThen extract file into the folder /var/www/ with the following command:
# unzip mediawiki-1.40.1.zip -d /var/www/Rename it to make it simpler:
# mv /var/www/mediawiki-1.40.1/ /var/www/mediawikiNow, install all PHP dependencies using the following command:
# cd /var/www/mediawiki && composer install --no-devThen enable permission for the Apache webserver user to access the files:
# chown -R www-data:www-data /var/www/mediawiki/Step 7: Configure Apache for MediaWiki
To create a new VirtualHost file run the following commands:
# nano /etc/apache2/sites-available/mediawiki.confPaste the content as shown below:
 <VirtualHost *:80>
    ServerAdmin admin@your-domain.com
    DocumentRoot /var/www/mediawiki/

    ServerName your-domain.com
    ServerAlias www.your-domain.com

    <Directory /var/www/mediawiki/>
        Options FollowSymLinks
        AllowOverride All
        Order allow,deny
        allow from all
    </Directory>

    ErrorLog ${APACHE_LOG_DIR}/your-domain.com_error.log
    CustomLog ${APACHE_LOG_DIR}/your-domain.com_access.log combined

 </VirtualHost>
Remember to replace your-domain.com with the domain name of your server.
Save and exit the configuration file.
To enable this site run the command:
# /usr/sbin/a2ensite mediawiki.confTo implement the changes, restart Apache webserver:
# systemctl restart apache2Step 8: Access MediaWiki Web Interface
To complete the setup go to your browser and visit http://your-domain.com.
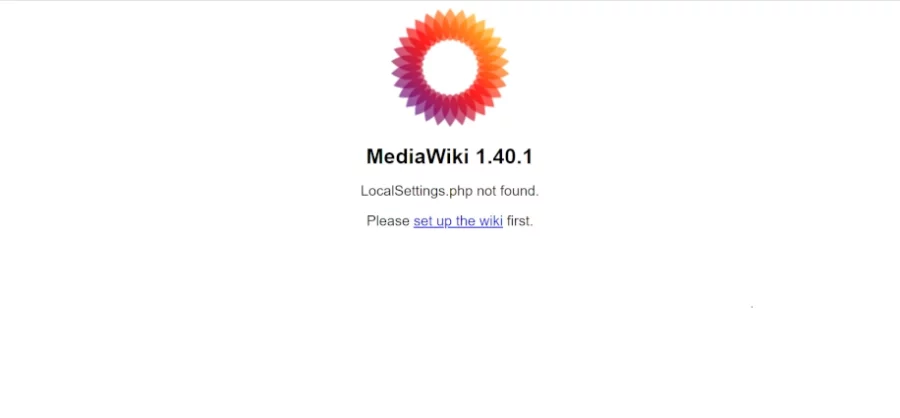
Start the setup clicking on the link to “set up the wiki”.
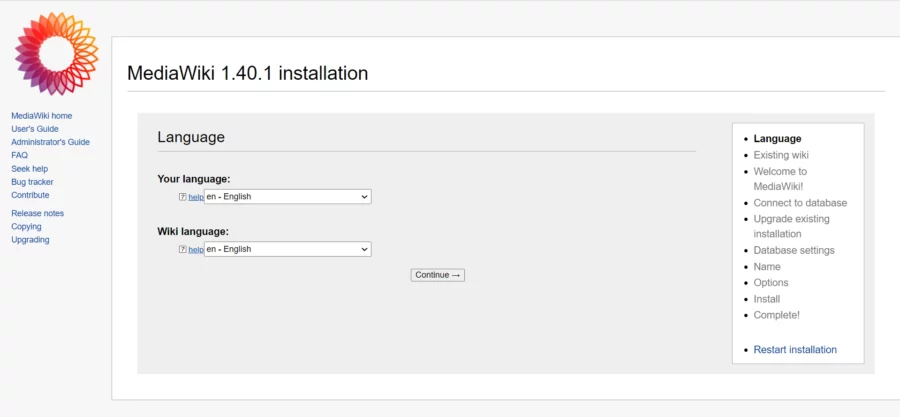
Choose language and click on the Continue button.
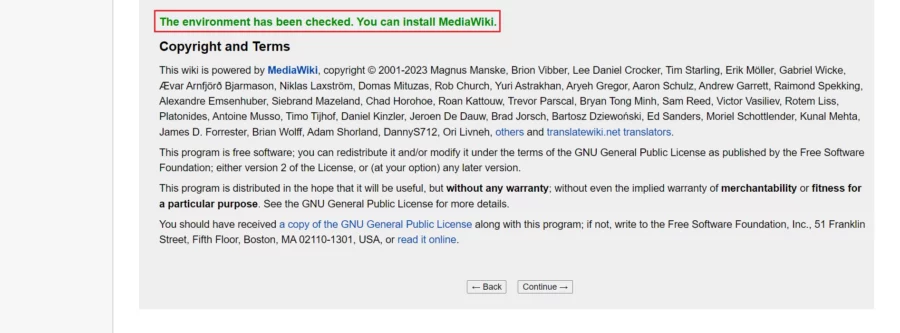
If everything is OK, you will get the message “The environment has been checked. You can install MediaWiki”. Click “Continue” to advance to the next step.
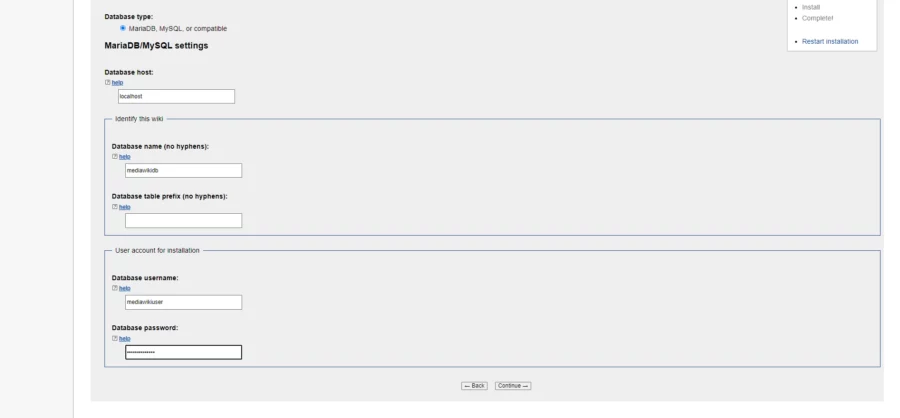
Add the database information such as the Database name, username, and password that you have created in the previous step.
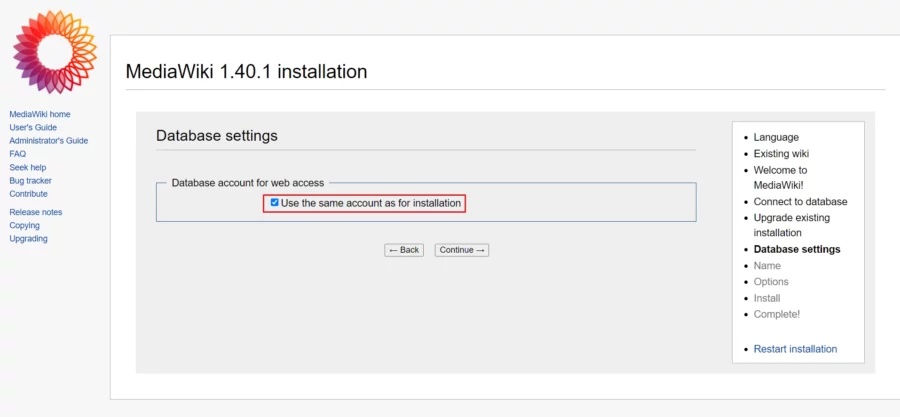
Click on the Continue button.
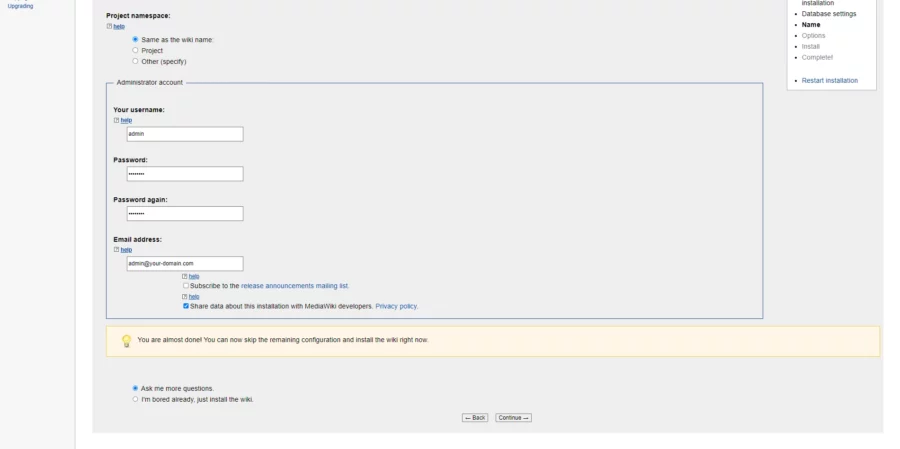
Provide your website name, admin username, password and click on the Continue button.
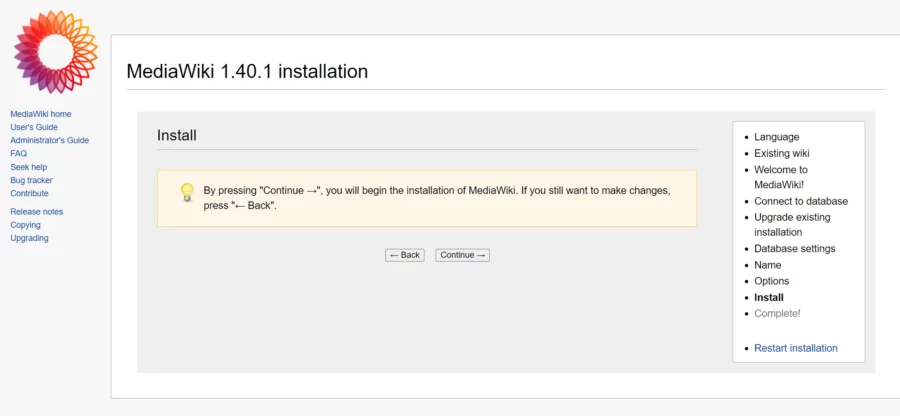
Click on the “Continue” button.
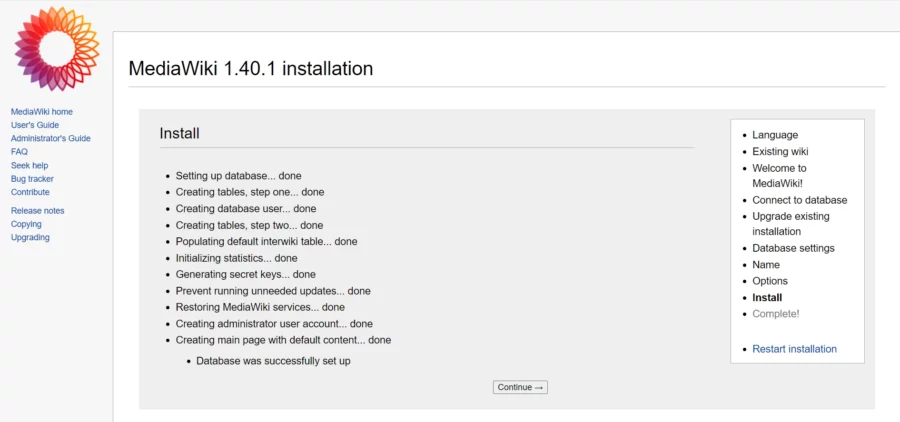
Click on the “Continue” button. and the system will generate a “LocalSettings.php” that contains all the configuration you have done.
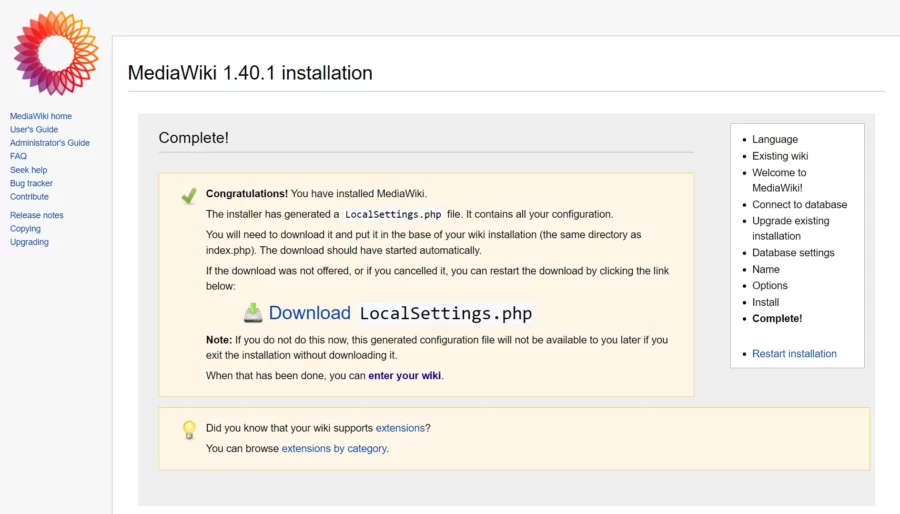
Copy the file to the /var/www//mediawiki directory. Then, set the correct ownership using the following command:
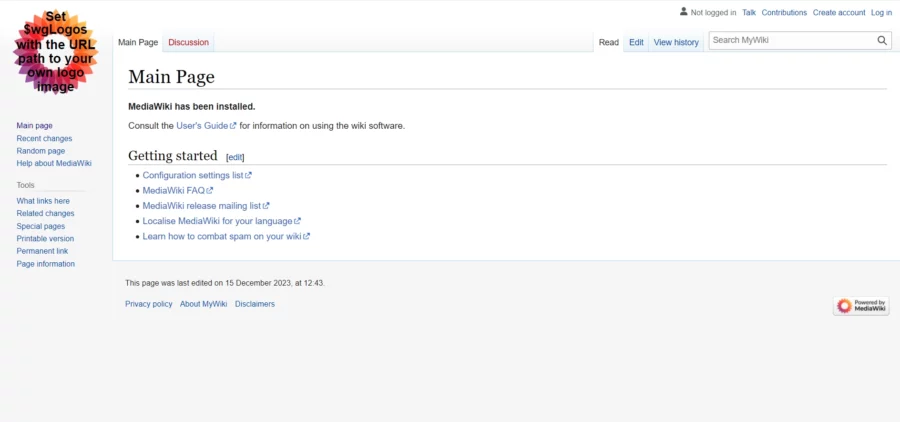
# chown www-data:www-data /var/www/mediawiki/LocalSettings.phpOnce you have completed this last step you will be redirected to the MediaWiki dashboard:
Comments and Conclusion
Congratulations! You have successfully installed Mediawiki with Apache on your Debian 12 OS.
For additional help or useful information, we recommend you to check the official MediaWiki documentation.
If you have any questions please leave a comment below.