
Django is a python based full stack framework. This framework works based on the model-template-view architectural patterns. Django is considered to be one of the popular web based development frameworks for developing Python’s server applications.
The high profile websites that use Django are Disqus, Instagram, MacArthur Foundation, National Geographic channel, Knight Foundation, Pinterest, Open knowledge foundation, and open stack software.
We will be installing Django application in a Python virtual environment. It is very useful because it allows developers to run and develop an application with different python versions.
Step 1: Update Operating System
Update your Ubuntu 22.04 operating system to the latest version with the following command:
# apt update && sudo apt upgrade -yStep 2: Install Apache with mod_wsgi Module
To setup Django to production we will install Apache and the Apache mod_wsgi module.
You can install them via apt package manager by executing the following command:
# apt install apache2 libapache2-mod-wsgi-py3Once all the packages are installed, you can start the Apache service and configure it to run on startup by entering the following commands:
# systemctl start apache2
# systemctl enable apache2
Verify the status of the Apache service using systemctl status command:
# systemctl status apache2Output:
● apache2.service - The Apache HTTP Server
     Loaded: loaded (/lib/systemd/system/apache2.service; enabled; vendor preset: enabled)
     Active: active (running)
       Docs: https://httpd.apache.org/docs/2.4/
   Main PID: 39757 (apache2)
      Tasks: 55 (limit: 2200)
     Memory: 15.2M
        CPU: 206ms
     CGroup: /system.slice/apache2.service
             ├─39757 /usr/sbin/apache2 -k start
             ├─39761 /usr/sbin/apache2 -k start
             └─39762 /usr/sbin/apache2 -k start
Step 3: Install MySQL and create a database
You can install the MySQL server and libmysqlclient-dev (MySQL database development files) with the following command:
# apt install mysql-server libmysqlclient-devStart the database server daemon, and also enable it to start automatically at the next boot with the following commands:
# systemctl start mysql
# systemctl enable mysql
Verify the status of the MySQL service using systemctl status command:
# systemctl status mysqlOutput:
● mysql.service - MySQL Community Server
     Loaded: loaded (/lib/systemd/system/mysql.service; enabled; vendor preset: enabled)
     Active: active (running)
   Main PID: 41039 (mysqld)
     Status: "Server is operational"
      Tasks: 39 (limit: 2200)
     Memory: 358.9M
        CPU: 1.070s
     CGroup: /system.slice/mysql.service
             └─41039 /usr/sbin/mysqld
Once the database server is installed, log into the MySQL prompt:
# mysql -u rootTo create a database, database user, and grant all privileges to the database user run the following commands:
mysql> CREATE DATABASE django_db;
mysql> CREATE USER 'django_user'@'localhost' IDENTIFIED BY 'Pa$$word';
mysql> GRANT ALL ON django_db.* TO 'django_user'@'localhost';
mysql> FLUSH PRIVILEGES;
mysql> EXIT
Step 4: Install Pip on Ubuntu 22.04
Python comes already installed by default on Ubuntu 22.04. You can verify it by checking its version:
# python3 -VOutput:
Python 3.10.6Use the following command to install pip and venv on Ubuntu 22.04:
# apt install python3-venv python3-pipVerify your Pip installation by checking its version:
# pip3 --versionOutput:
pip 22.0.2 from /usr/lib/python3/dist-packages/pip (python 3.10)
Step 5: Install Django Using Virtualenv
First, create a directory and switch to it with the commands below:
# mkdir /var/www/django_project
# cd /var/www/django_project
Before you install Django, you first need to create a Python virtual environment.
# python3 -m venv django_envNext, activate the virtual environment with the following command:
# source django_env/bin/activateNext, install the latest Django version using the following command:
(django_env) # pip install djangoYou will get the following output:
Collecting django
  Downloading Django-4.1.1-py3-none-any.whl (8.1 MB)
     ━━━━━━━━━━━━━━━━━━━━━━━━━━━━━━━━━━━━━━━━ 8.1/8.1 MB 3.3 MB/s eta 0:00:00
Collecting asgiref<4,>=3.5.2
  Downloading asgiref-3.5.2-py3-none-any.whl (22 kB)
Collecting sqlparse>=0.2.2
  Downloading sqlparse-0.4.3-py3-none-any.whl (42 kB)
     ━━━━━━━━━━━━━━━━━━━━━━━━━━━━━━━━━━━━━━━━ 42.8/42.8 kB 2.0 MB/s eta 0:00:00
Installing collected packages: sqlparse, asgiref, django
Successfully installed asgiref-3.5.2 django-4.1.1 sqlparse-0.4.3
Verify the Django version with the following command:
(django_env) # django-admin --versionYou will get the following output:
4.1.1Since you are setting a production site ensure you’ve python mysqlclient installed:
(django_env) # pip install mysqlclientYou will get the following output:
Collecting mysqlclient
  Downloading mysqlclient-2.1.1.tar.gz (88 kB)
     ━━━━━━━━━━━━━━━━━━━━━━━━━━━━━━━━━━━━━━━━ 88.1/88.1 KB 1.3 MB/s eta 0:00:00
  Preparing metadata (setup.py) ... done
Using legacy 'setup.py install' for mysqlclient, since package 'wheel' is not installed.
Installing collected packages: mysqlclient
  Running setup.py install for mysqlclient ... done
Successfully installed mysqlclient-2.1.1
Step 6: Creating your Django project
Now you need to create Django project in django_project directory.
(django_env) # django-admin startproject django_app .Next, modify settings.py file:
(django_env) # nano django_app/settings.pyAdd the URL in ALLOWED_HOST List which is above INSTALLED_APPS.
ALLOWED_HOSTS = ['your_server_ip', 'your-domain.com']The default database set in Django is SQLite. Replace SQLite database backend:
DATABASES = {
    'default': {
        'ENGINE': 'django.db.backends.sqlite3',
        'NAME': os.path.join(BASE_DIR, 'db.sqlite3'),
    }
}
with MySQL database engine backend :
DATABASES = {
'default': {
'ENGINE': 'django.db.backends.mysql',
'NAME': 'django_db',
'USER': 'django_user',
'PASSWORD': 'Pa$$word',
'HOST': '127.0.0.1',
'PORT' : '3306',
}
}
In order for our webserver to serve the static files add the following lines:
import os

STATIC_URL='/static/'
STATIC_ROOT=os.path.join(BASE_DIR, 'static/')

MEDIA_URL='/media/'
MEDIA_ROOT=os.path.join(BASE_DIR, 'media/')
Once done, save the file and exit the text editor.
Now, You can migrate the initial database schema to our MySQL database using the management script:
(django_env) # ./manage.py  makemigrations
(django_env) # ./manage.py  migrate
Create an administrative user for the project by typing:
(django_env) # ./manage.py createsuperuserYou will have to provide a username, an email address, and choose and confirm a password.
Username (leave blank to use 'root'): admin
Email address: admin@your-domain.com
Password:
Password (again):
Superuser created successfully.
You can collect all of the static content into the directory location you configured by running the command:
(django_env) # ./manage.py collectstaticThis will collect all the project static files in static directory. It will give some output like this:
130 static files copied to '/var/www/django_project/static'.To deactivate the virtual environment run the following command:
(django_env) # deactivateStep 7: Configure Apache Web Server for Django
Navigate to /etc/apache2/sites-available directory and run the following command to create a configuration file for your installation:
# nano /etc/apache2/sites-available/django.confAdd the following content:
<VirtualHost *:80>

        ServerAdmin admin@your-domain.com
        ServerName your-domain.com
        ServerAlias www.your-domain.com

        DocumentRoot /var/www/django_project/

        ErrorLog ${APACHE_LOG_DIR}/your-domain.com_error.log
        CustomLog ${APACHE_LOG_DIR}/your-domain.com_access.log combined

        Alias /static /var/www/django_project/static
        <Directory /var/www/django_project/static>
                Require all granted
        </Directory>

        Alias /media /var/www/django_project/media
        <Directory /var/www/django_project/media>
                Require all granted
         </Directory>

        <Directory /var/www/django_project/django_app>
                <Files wsgi.py>
                        Require all granted
                </Files>
        </Directory>

        WSGIDaemonProcess django_app python-path=/var/www/django_project python-home=/var/www/django_project/django_env
        WSGIProcessGroup django_app
        WSGIScriptAlias / /var/www/django_project/django_app/wsgi.py

</VirtualHost>
Save the file and Exit.
Enable the Django virtual host:
# a2ensite django.confRestart the Apache web server.
# systemctl restart apache2Step 8: Access Django Project
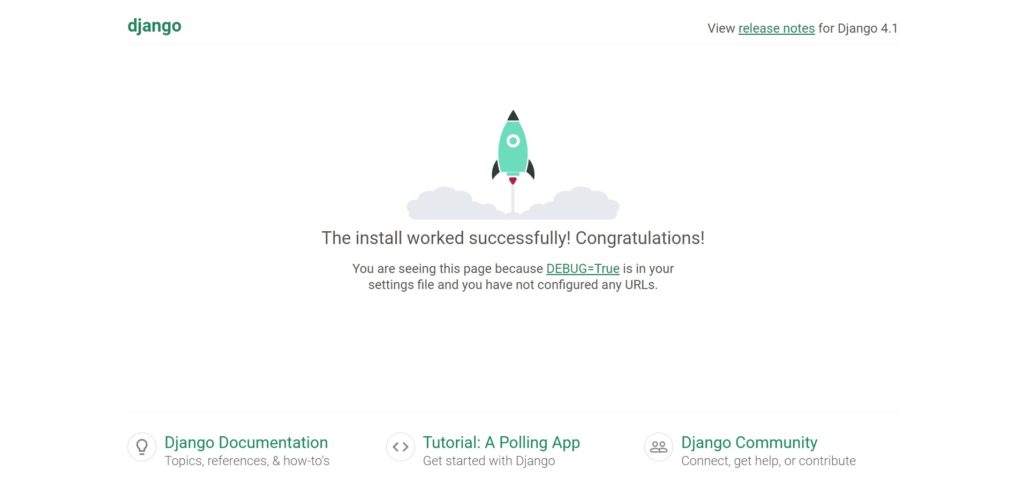
That’s it the production site has been setup. You can now access your application with your domain at e.g http://your-domain.com
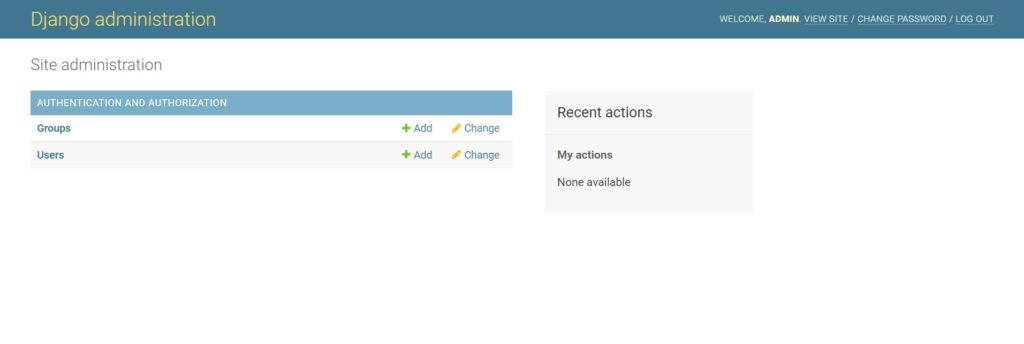
To access the admin dashboard, add /admin/ to the end of your URL http://your-domain.com/admin This will take you to a log in screen:

Enter your Django admin user, password and click on the Log in. You will get the Django administration dashboard in the following screen:
Comments and Conclusion
That’s it. You have successfully installed Django on Ubuntu 22.04 with Apache and WSGI. For additional information, you can check the official Django documentation.
If you have any questions please leave a comment below.
Thanks a lot.
worked fine on django 4.x – debian 11 – python 3.9 – apache 2.4
tnx again :X
Thank youuu so much! this tutorial saved me from “virtual host” in apache wsgi-error.
Hello, i’m trying to re-work this tutorial in python version 3.11, but not work.
The page was return error like this :
“Internal Server Error
The server encountered an internal error or misconfiguration and was unable to complete your request.”
Log apache2 error :
[wsgi:error] [pid 152133] mod_wsgi (pid=152133): Failed to exec Python script file ‘/var/www/html/demand-forecast-dev/django_app/wsgi.py’.
[wsgi:error] [pid 152133] mod_wsgi (pid=152133): Exception occurred processing WSGI script ‘/var/www/html/demand-forecast-dev/django_app/wsgi.py’.
[wsgi:error] [pid 152133] Traceback (most recent call last):
[wsgi:error] [pid 152133] File “/var/www/html/demand-forecast-dev/django_app/wsgi.py”, line 12, in
[wsgi:error] [pid 152133] from django.core.wsgi import get_wsgi_application
[wsgi:error] [pid 152133] ModuleNotFoundError: No module named ‘django’
Please help, what is the problem?
Thanks before.
The mod_wsgi module for Apache is compiled for the Python 3.10 version. You cannot use the module for the Python 3.11 version.
Thanks a lot for your reply.
So if I want to deploy django with Python3.11, mod_wsgi for Apache must to compiled in python3.11, right?
Yes, correct.
(django_env) # pip install mysqlclient produces an error:
Collecting mysqlclient
Using cached mysqlclient-2.2.0.tar.gz (89 kB)
Installing build dependencies … done
Getting requirements to build wheel … error
error: subprocess-exited-with-error
× Getting requirements to build wheel did not run successfully.
I wanted to reproduce your workflow exactly before modifying it to suit my needs. However, it has stopped at this point. Any suggestions?
Please first install the following dependencies:
Then run again the command:
Thank you so much
I am doing this on Amazon Lightsail.
I need to put ‘sudo’ before all commands or get permission denied error.
When I go to make migrations, I get the following error
File “/var/www/django_project/manage.py”, line 11, in main
from django.core.management import execute_from_command_line
ModuleNotFoundError: No module named ‘django’
The above exception was the direct cause of the following exception:
Traceback (most recent call last):
File “/var/www/django_project/manage.py”, line 22, in
main()
File “/var/www/django_project/manage.py”, line 13, in main
raise ImportError(
ImportError: Couldn’t import Django. Are you sure it’s installed and available on your PYTHONPATH environment variable? Did you forget to activate a virtual environment?
Help!
**And I should note, I am in the virtual env when I run the make migrations command
Fixed issues from above — put here for anyone else running into this
**change directory ownership of /var/www to ubuntu:ubuntu
** remove /etc/apache2/sites-available/000-default.conf
** restart apache2 server