
CakePHP is an open-source web application framework written in PHP. It follows the Model-View-Controller (MVC) architectural pattern, which provides a structured approach to developing web applications. CakePHP aims to simplify and speed up the development process by offering a set of conventions and built-in features.
CakePHP has gained popularity for its simplicity, convention-driven approach, and robust feature set. It has been used to build a wide range of web applications, from small websites to large-scale enterprise systems.
In this tutorial, we will show you how to install CakePHP on Ubuntu 22.04 OS.
Step 1: Update Operating System
Update your Ubuntu 22.04 operating system to the latest version with the following command:
# apt update && sudo apt upgradeStep 2: Install Apache webserver
You can install it via apt package manager by executing the following command.
# apt install apache2Verify the status of the Apache service using systemctl status command:
# systemctl status apache2Output:
● apache2.service - The Apache HTTP Server
     Loaded: loaded (/lib/systemd/system/apache2.service; enabled; vendor preset: enabled)
     Active: active (running)
       Docs: https://httpd.apache.org/docs/2.4/
   Main PID: 2773 (apache2)
      Tasks: 55 (limit: 2193)
     Memory: 4.8M
        CPU: 35ms
     CGroup: /system.slice/apache2.service
             ├─2773 /usr/sbin/apache2 -k start
             ├─2775 /usr/sbin/apache2 -k start
             └─2776 /usr/sbin/apache2 -k start
Step 3: Install PHP and PHP extensions for CakePHP
To install PHP and additional PHP extensions which are essential for create CakePHP project, run the following command:
# apt-get install php libapache2-mod-php php-{cli,common,curl,zip,gd,mysql,xml,mbstring,json,intl,bcmath,sqlite3}Verify if PHP is installed.
# php -vOutput:
PHP 8.1.2-1ubuntu2.11 (cli) (built: Feb 22 2023 22:56:18) (NTS)
Copyright (c) The PHP Group
Zend Engine v4.1.2, Copyright (c) Zend Technologies
with Zend OPcache v8.1.2-1ubuntu2.11, Copyright (c), by Zend TechnologiesStep 4: Install MySQL and create a database
You can install the MySQL server with the following command:
# apt install mysql-serverVerify the status of the MySQL service using systemctl status command:
# systemctl status mysqlOutput:
● mysql.service - MySQL Community Server
     Loaded: loaded (/lib/systemd/system/mysql.service; enabled; vendor preset: enabled)
     Active: active (running)
    Process: 806 ExecStartPre=/usr/share/mysql/mysql-systemd-start pre (code=exited, status=0/SUCCESS)
   Main PID: 938 (mysqld)
     Status: "Server is operational"
      Tasks: 38 (limit: 2193)
     Memory: 421.3M
        CPU: 3.314s
     CGroup: /system.slice/mysql.service
             └─938 /usr/sbin/mysqld
By default, MySQL server is not hardened. You can secure MySQL using the mysql_secure_installation script.
# mysql_secure_installationConfigure it like this:
- Set root password? [Y/n] Y
- Remove anonymous users? [Y/n] Y
- Disallow root login remotely? [Y/n] Y
- Remove test database and access to it? [Y/n] Y
- Reload privilege tables now? [Y/n] Y
Now, log into the MySQL prompt:
# mysql -u root -pTo create a database, database user, and grant all privileges to the database user run the following commands:
mysql> CREATE DATABASE cakephp_db;
mysql> CREATE USER 'cakephp_user'@'localhost' IDENTIFIED BY 'Str0Pa$$word';
mysql> GRANT ALL ON cakephp_db.* TO 'cakephp_user'@'localhost';
mysql> FLUSH PRIVILEGES;
mysql> EXIT
Step 5: Install Composer
CakePHP’s official installation method is through Composer.
Run the following command to download the Composer installer using curl command:
# curl -sS https://getcomposer.org/installer | phpNext, move the composer file to the /usr/local/bin path.
# mv composer.phar /usr/local/bin/composerAssign execute permission:
# chmod +x /usr/local/bin/composerVerify the Composer version installed:
# composer --versionOutput:
Composer version 2.5.7 2023-05-24 15:00:39Step 6: Create CakePHP Project
Now, using Composer it is quite simple to create CakePHP project. To do so, just run the following command:
# cd /var/www
# composer create-project --prefer-dist cakephp/app MyProject
In the final part of the installation, you will be asked to change the permissions of the folders.
Set Folder Permissions ? (Default to Y) [Y,n]? Y
Permissions set on /var/www/MyProject/tmp/cache
Permissions set on /var/www/MyProject/tmp/cache/models
Permissions set on /var/www/MyProject/tmp/cache/persistent
Permissions set on /var/www/MyProject/tmp/cache/views
Permissions set on /var/www/MyProject/tmp/sessions
Permissions set on /var/www/MyProject/tmp/tests
Permissions set on /var/www/MyProject/tmp
Permissions set on /var/www/MyProject/logs
Updated Security.salt value in config/app_local.php
Also, change the ownership of the MyProject directory with the following command:
# chown -R www-data:www-data /var/www/MyProject/Then edit MyProject/config/app_local.php configuration file and search for your database setting.
# nano /var/www/MyProject/config/app_local.phpMake necessary changes as per below details:
    'Datasources' => [
        'default' => [
            'host' => 'localhost',
            //'port' => 'non_standard_port_number',

            'username' => 'cakephp_user',
            'password' => 'Str0Pa$$word',

            'database' => 'cakephp_db',
Step 7: Deploy CakePHP (Development)
To check that CakePHP is properly installed, simply run PHP’s built-in webserver to serve your project.
# bin/cake serverBy default, without any arguments provided, this will serve your application at http://localhost:8765/.
You can also specify your own host and port:
# bin/cake server -H 192.168.10.10 -p 4321This will serve your application at http://192.168.10.10:4321/
Note: That this is done for development purposes and never for production.
Step 8: Configure Apache for CakePHP (Production)
To create a new VirtualHost file run the following commands:
# nano /etc/apache2/sites-available/cakephp.confPaste the content as shown below:
 <VirtualHost *:80>
    ServerAdmin admin@your-domain.com
    DocumentRoot /var/www/MyProject/

    ServerName your-domain.com
    ServerAlias www.your-domain.com

    <Directory /var/www/MyProject/>
        AllowOverride All
        Require all granted
    </Directory>

    ErrorLog ${APACHE_LOG_DIR}/your-domain.com_error.log
    CustomLog ${APACHE_LOG_DIR}/your-domain.com_access.log combined

 </VirtualHost>
Remember to replace your-domain.com with the domain name of your server.
Save and exit the configuration file.
Then enable the "rewrite" module in Apache:
# a2enmod rewriteTo enable this site run the command:
# a2ensite cakephp.confTo implement the changes, restart Apache webserver:
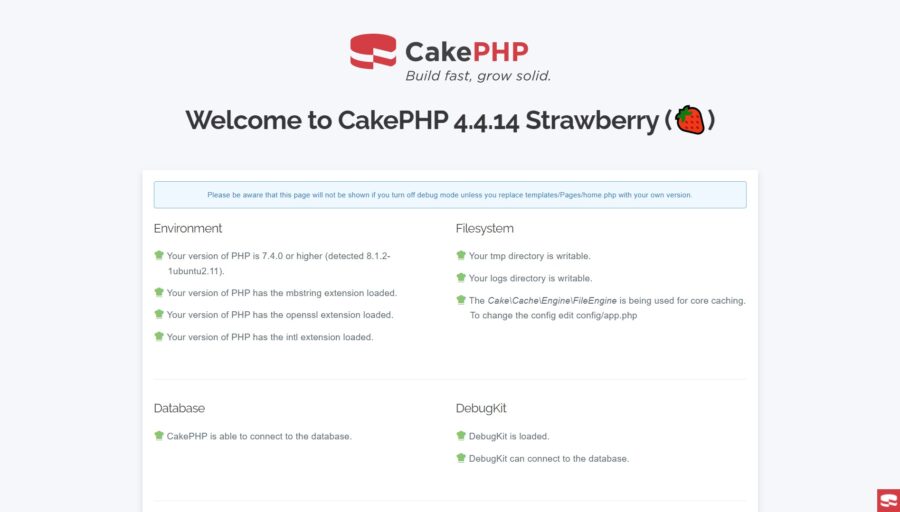
# systemctl restart apache2Step 9: Access CakePHP
To access your CakePHP project, go to your browser and visit http://your-domain.com.
Comments and Conclusion
That’s it. You can now create controllers, models and views to develop your project according to your requirements.
For additional help or useful information, we recommend you to check the official CakePHP documentation.