

If you are planning to deploy Odoo in a production environment, configuring it behind a reverse proxy like Nginx is highly recommended. Odoo’s built-in server is sufficient for development but not optimized for handling SSL encryption, load balancing, URL routing, and performance tuning. Nginx acts as a powerful reverse proxy that enhances reliability, security, and performance, making your Odoo installation production-ready.
In this tutorial, you will learn step-by-step how to configure Odoo with Nginx as a reverse proxy on Debian 13, including SSL setup.
Step 1: Update Operating System
Update your Debian 13 operating system to the latest version with the following command:
# apt update && apt upgradeStep 2: Install Nginx Web Server
To install Nginx web server, run the following command:
# apt install nginxYou can start the Nginx service and configure it to run on startup by entering the following commands:
# systemctl start nginx
# systemctl enable nginx
Verify the status of the Nginx service using systemctl status command:
# systemctl status nginxStep 3: Configure Odoo for Reverse Proxy
Make sure that Odoo is configured to work behind a proxy. In the Odoo configuration file (/etc/odoo.conf), you need to set the proxy_mode parameter to True:
proxy_mode = True
After making the changes, it’s important to restart the Odoo service to ensure the changes take effect:
# systemctl restart odooStep 4: Configure Nginx for Odoo
Now we set up the Nginx configuration to route traffic to Odoo.
Create a new configuration file:
# /etc/nginx/conf.d/odoo.confPaste the following configuration (replace erp.example.com with your real domain):
upstream odoo {
server 127.0.0.1:8069;
}

upstream odoo-chat {
server 127.0.0.1:8072;
}

server {
listen 80;
server_name erp.example.com;

access_log /var/log/nginx/odoo_access.log;
error_log /var/log/nginx/odoo_error.log;

proxy_read_timeout 720s;
proxy_connect_timeout 720s;
proxy_send_timeout 720s;

proxy_set_header X-Forwarded-Host $host;
proxy_set_header X-Forwarded-For $proxy_add_x_forwarded_for;
proxy_set_header X-Forwarded-Proto $scheme;
proxy_set_header X-Real-IP $remote_addr;

location / {
proxy_pass http://odoo;
}

location /websocket {
proxy_pass http://odoo-chat;
proxy_set_header Upgrade $http_upgrade;
proxy_set_header Connection "upgrade";
}
}
Save the file and Exit.
Check Nginx syntax:
# /usr/sbin/nginx -t
nginx: the configuration file /etc/nginx/nginx.conf syntax is ok
nginx: configuration file /etc/nginx/nginx.conf test is successful
To implement the changes, restart Nginx webserver:
# systemctl restart nginxYou can now open your Odoo at:
http://erp.your-domain.comHowever, this is still not secure because we are using HTTP.
Step 5: Install free Let’s Encrypt SSL certificate (Optional)
First you need to install the Certbot client which is used to create Let’s Encrypt certificates:
# apt install certbot python3-certbot-nginxThen to get the SSL certificate using the Certbot, type the following command:
# certbot --nginx -d erp.your-domain.comIf the SSL certificate is successfully obtained, certbot displays a message to show the configuration was successful:
Saving debug log to /var/log/letsencrypt/letsencrypt.log
Requesting a certificate for erp.your-domain.com

Successfully received certificate.
Certificate is saved at: /etc/letsencrypt/live/erp.your-domain.com/fullchain.pem
Key is saved at:         /etc/letsencrypt/live/erp.your-domain.com/privkey.pem
This certificate expires on 2026-02-16.
These files will be updated when the certificate renews.
Certbot has set up a scheduled task to automatically renew this certificate in the background.

Deploying certificate
Successfully deployed certificate for erp.your-domain.com to /etc/nginx/conf.d/odoo.conf
Congratulations! You have successfully enabled HTTPS on https://erp.your-domain.com

- - - - - - - - - - - - - - - - - - - - - - - - - - - - - - - - - - - - - - - -
If you like Certbot, please consider supporting our work by:
 * Donating to ISRG / Let's Encrypt:   https://letsencrypt.org/donate
 * Donating to EFF:                    https://eff.org/donate-le
- - - - - - - - - - - - - - - - - - - - - - - - - - - - - - - - - - - - - - - -
Now, you have successfully installed SSL on your website.
Step 6: Access Odoo server
Open your web browser and type the URL https://erp.your-domain.com.
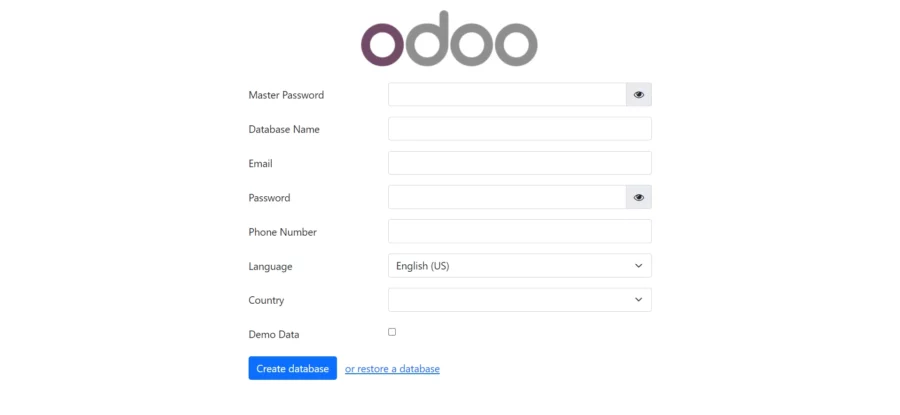

You should now see your Odoo login page loading securely via Nginx.
Comments and Conclusion
Configuring Nginx as a reverse proxy for Odoo enhances security, performance, and scalability.
It allows you to run Odoo in a professional production environment with HTTPS, HTTP/2, caching, and better resource usage.
If you have any questions please leave a comment below.