
Apache Tomcat is an open-source Java HTTP web server developed by the Apache Software Foundation. Tomcat helps to deploy the Java Servlet and the JavaServer Pages and serves them like an HTTP web server.
In this tutorial, we will show you the complete steps to install Tomcat 10 on Debian 11.
Update Operating System
Update your Debian 11 operating system to make sure all existing packages are up to date:
$ sudo apt update && sudo apt upgrade -yInstall Java 17 (OpenJDK 17) on Debian 11
Java 17 packages are available on Debian 11 repositories and you can install it with the following command:
$ sudo apt install openjdk-17-jdkCheck Java version after installation:
$ java -version
openjdk version "17.0.1" 2021-10-19
OpenJDK Runtime Environment (build 17.0.1+12-Debian-1deb11u2)
OpenJDK 64-Bit Server VM (build 17.0.1+12-Debian-1deb11u2, mixed mode, sharing)
Create Tomcat User
It is recommended to have tomcat user for tomcat services.
To create a new account, type:
sudo useradd -m -d /opt/tomcat -U -s /bin/false tomcat The above command will create a user and group with the name “tomcat” in your system.
Download and Install Tomcat
You can download the Tomcat 10 directly from the official webpage of the Tomcat, or use the wget command:
$ sudo wget https://downloads.apache.org/tomcat/tomcat-10/v10.0.16/bin/apache-tomcat-10.0.16.tar.gzExtract the downloaded file to /opt/tomcat directory using tar command:
$ sudo tar xpvf apache-tomcat-10.0.16.tar.gz -C /opt/tomcat --strip-components=1Set the correct permissions on files and directories:
$ sudo chown tomcat:tomcat /opt/tomcat/ -R
$ sudo chmod u+x /opt/tomcat/bin -R
Create a Systemd service file
By default, we won’t have a Systemd unit file for Tomcatto run it in the background and to easily stop, start and enable its services.
Create systemd unit for tomcat to start / stop and restart service.
nano /etc/systemd/system/tomcat.servicePaste following lines:
[Unit]
Description=Tomcat
After=syslog.target network.target
[Service]
Type=forking

User=tomcat
Group=tomcat

Environment=JAVA_HOME=/usr/lib/jvm/java-1.17.0-openjdk-amd64
Environment='JAVA_OPTS=-Djava.awt.headless=true'

Environment=CATALINA_HOME=/opt/tomcat
Environment=CATALINA_BASE=/opt/tomcat
Environment=CATALINA_PID=/opt/tomcat/temp/tomcat.pid

ExecStart=/opt/tomcat/bin/startup.sh
ExecStop=/opt/tomcat/bin/shutdown.sh

[Install]
WantedBy=multi-user.target
Reload system daemon and start Tomcat Service:
$ sudo systemctl daemon-reload
$ sudo systemctl start tomcat
$ sudo systemctl enable tomcat
To confirm everything is working normally, check the status of service:
systemctl status tomcatOutput:
● tomcat.service - Tomcat
Loaded: loaded (/etc/systemd/system/tomcat.service; enabled; vendor preset: enabled)
Active: active (running)
Main PID: 5605 (java)
Tasks: 37 (limit: 2301)
Memory: 77.1M
CPU: 5.700s
CGroup: /system.slice/tomcat.service
└─5605 /usr/lib/jvm/java-1.17.0-openjdk-amd64/bin/java -Djava.util.logging.config.fil>
Note: In case firewall is enable and running on your Debian 11 system then allow 8080 tcp port:
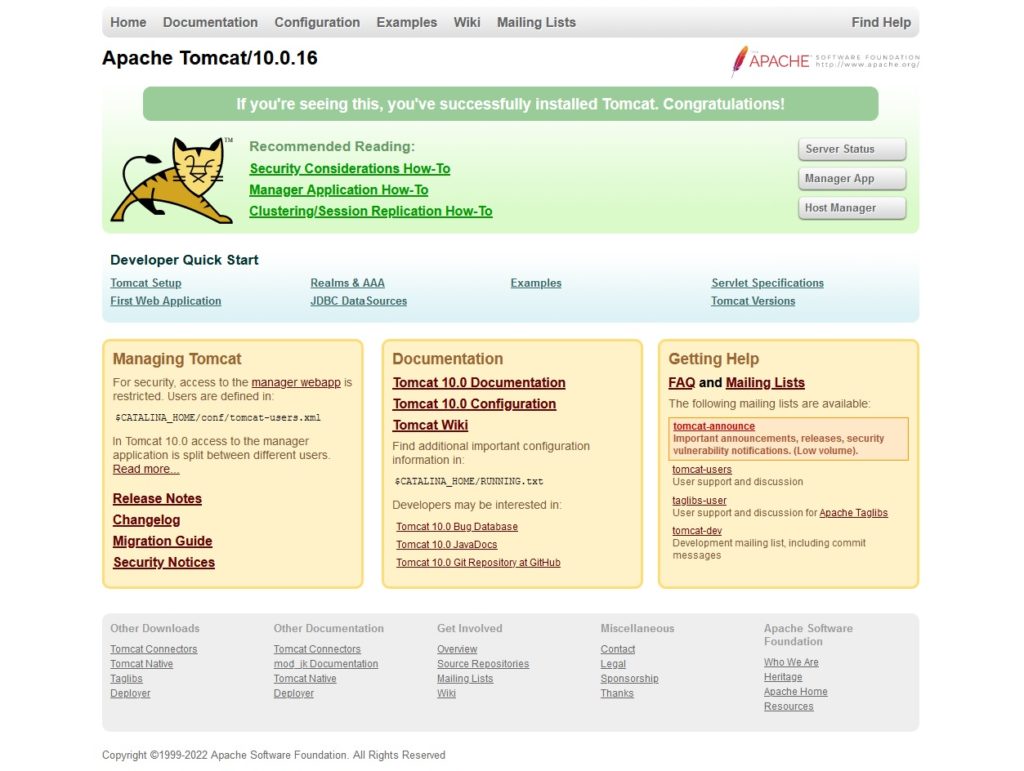
$ sudo ufw allow 8080/tcpNow open your web browser and type https://yourIP:8080. You will see the default tomcat page.
Add Roles and Admin username and password
To do it, you need to edit the configuration file /opt/tomcat/conf/tomcat-users.xml. You can edit it with nano by executing the following command:
$ sudo nano /opt/tomcat/conf/tomcat-users.xmlAdd following lines before context </tomcat-users>:
<role rolename="admin"/>
<role rolename="admin-gui"/>
<role rolename="manager"/>
<role rolename="manager-gui"/>

<user username="linuxtuto" password="Pa$$word" roles="admin,admin-gui,manager,manager-gui"/>
save and exit the file.
Allow Remote Access of Tomcat
By default, you won’t be able to access your installed Tomcat Manager sections (web interface) outside the local system.
In case you want to access tomcat applications from outside then edit the context.xml file for manager & host-manager and comment out the remote access section:
$ sudo nano /opt/tomcat/webapps/manager/META-INF/context.xml........
<!-- <Valve className="org.apache.catalina.valves.RemoteAddrValve"
allow="127\.\d+\.\d+\.\d+|::1|0:0:0:0:0:0:0:1" />
-->
........
$ sudo nano /opt/tomcat/webapps/host-manager/META-INF/context.xml........
<!-- <Valve className="org.apache.catalina.valves.RemoteAddrValve"
allow="127\.\d+\.\d+\.\d+|::1|0:0:0:0:0:0:0:1" />
-->
........
Restart Tomcat service:
$ sudo systemctl restart tomcatTo Access Tomcat Web Manager page type http://yourIP:8080/manager/html
It will prompt for username and password, Use username and password that you specify in the ‘/opt/tomcat/conf/tomcat-users.xml’ file:

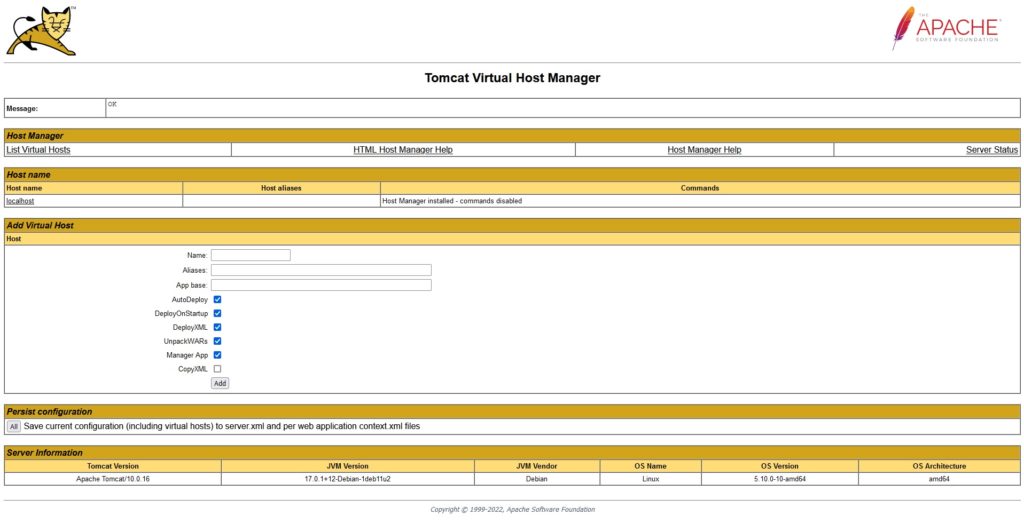
To access Tomcat Host Manager Web Page page type http://yourIP:8080/host-manager/html
It will prompt for username and password, Use username and password that you specify in the ‘/opt/tomcat/conf/tomcat-users.xml’ file:
Comments and Conclusion
That’s it. You have successfully installed Tomcat 10 on Debian 11. If you have any questions please leave a comment below.